


-
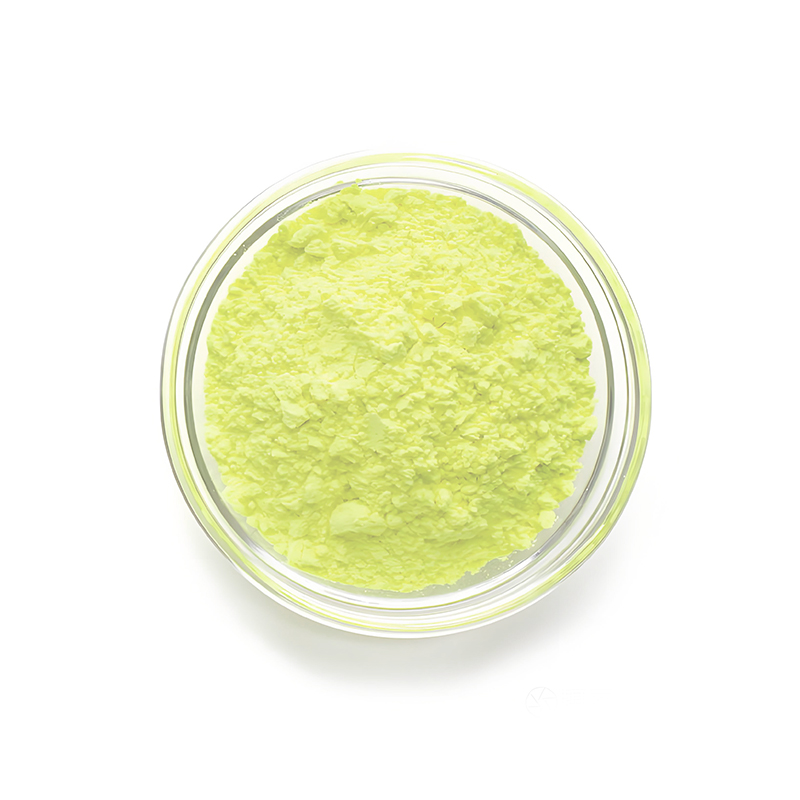
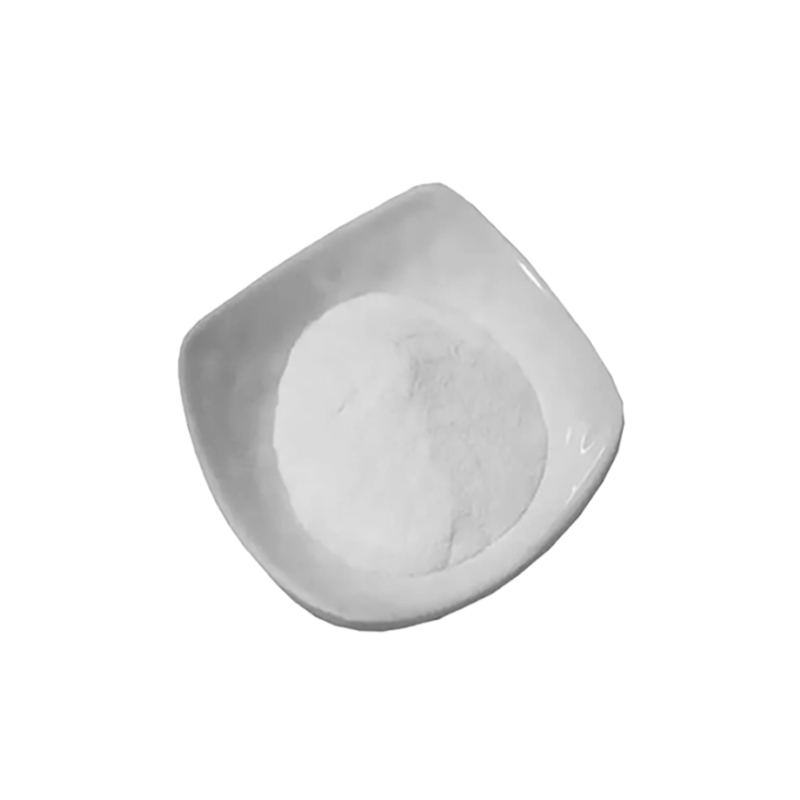 Nanzhao Xintai Active Heavy Active Calcium Carbonate 1250 Mesh
 -
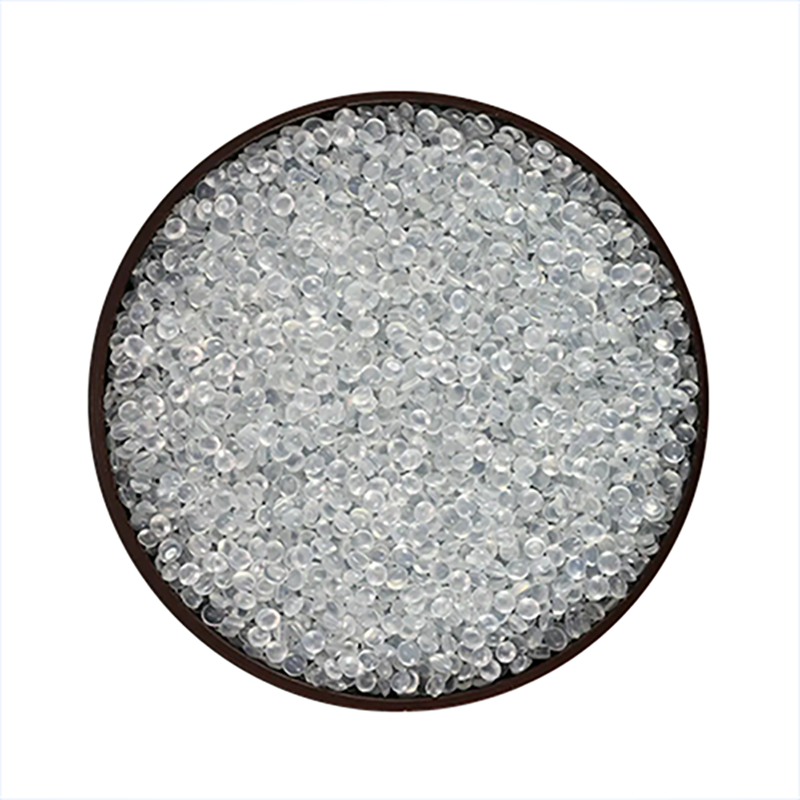
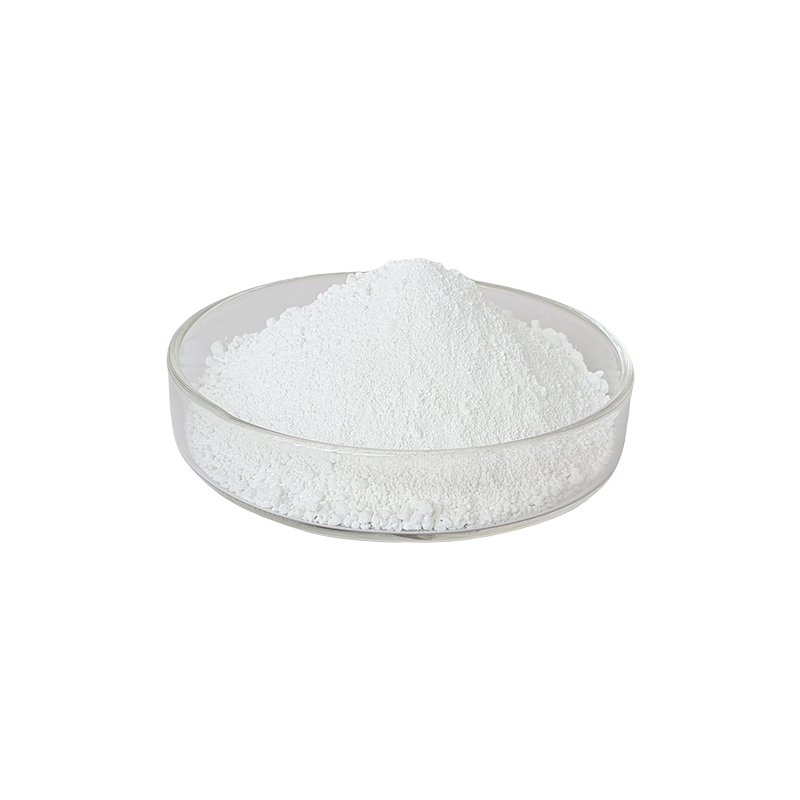 Water Milling Heavy and Active Ultrafine Nanometer Calcium Carbonate 3000 Mesh
 -
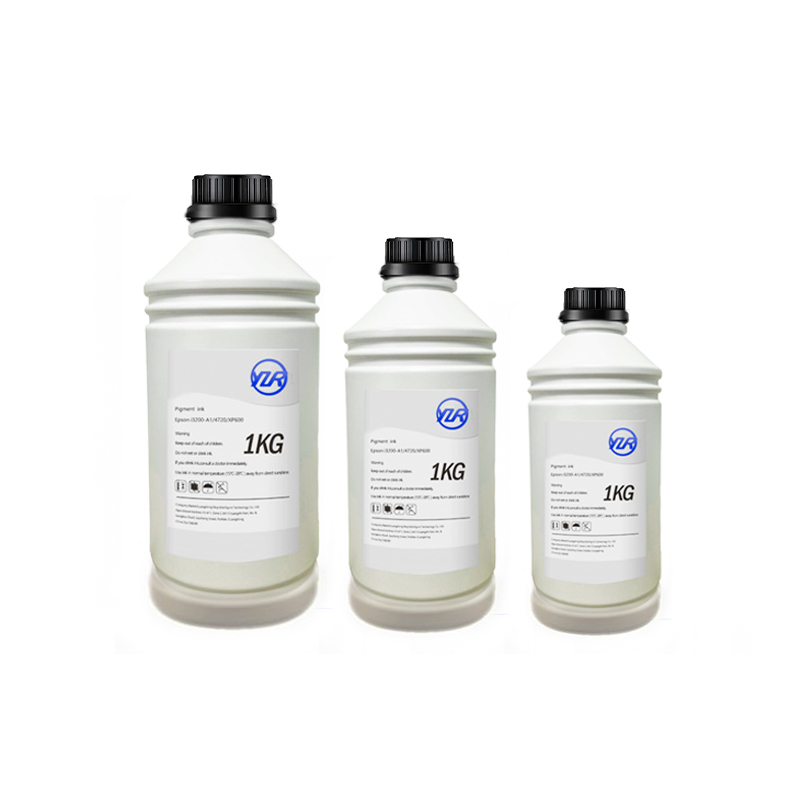 1000ml Premium DFT White Encre Color UV Textile Inkt DTF Ink for Epson L805 I3200 4720 5113 Printer
 -
 China factory direct wholesale 100% compostable biodegradable tablewares sugarcane pulp lunch box
 -
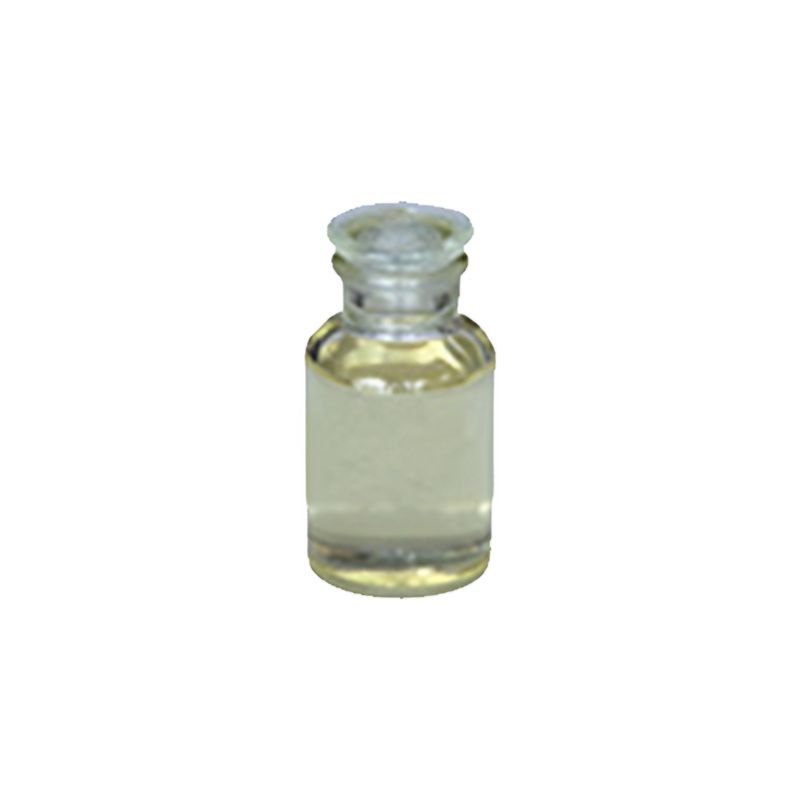 Waterborne acrylic resin GA1700
 -
 PP FIBER Y35
 -
 Oriental Optical Brightener CBS-X
Q
how to dye gloves

I'm a seasoned industrial engineer with a keen interest in machine learning. Here to share insights on latest industry trends.
You May Like

Flushing ink in an Epson P800 printer is a process often done to clear blocked nozzles or to switch between different types of inks. To successfully perform this, you’ll need a flushing solution or a set of cleaning cartridges compatible with the P800 model. Here’s a step-by-step guide:
1. **Install Flushing Solution/Cartridges**: Power off your printer and replace the regular ink cartridges with the flushing solution or cleaning cartridges.
2. **Power Cycle**: Turn on your printer and allow it to recognize the cleaning cartridges.
3. **Perform a Power Cleaning Cycle**: Navigate the printer menu to find the cleaning cycle option. This may consume a large amount of the flushing solution but is necessary to thoroughly clean the print head.
4. **Let it Sit**: After the cleaning cycle, it’s beneficial to let the printer sit for a few hours or overnight to allow the flushing solution to dissolve any clogs.
5. **Print Test Pages**: Print several test pages or a nozzle check pattern to ensure the nozzles are clear. Repeat cleaning if necessary.
6. **Replace with Ink Cartridges**: Once the print head is cleared, replace the flushing solution or cleaning cartridges with your regular ink cartridges.
Remember, regular maintenance and using high-quality inks can prevent most clogs and maintain your P800’s print quality.

The weight of resin statues, especially those themed around anime characters, can vary significantly depending on their size and design complexity. Generally, a small to medium-sized resin anime statue can weigh anywhere from 1 kg (2.2 lbs) to 5 kg (11 lbs). Larger and more detailed figures, which include elaborate bases or dynamic poses, might weigh between 5 kg (11 lbs) and 10 kg (22 lbs) or more. The density of the resin material, combined with added elements like metal for structural support or additional decorative components, can further affect the weight. Collectors should consider the display space's strength and stability, as heavier statues require more robust support to ensure they are displayed safely and effectively.

Typically, a gel polish application process involves several coats for the best result, with each coat serving a specific purpose. The process starts with a base coat, which helps the gel polish adhere to the nail and provides a smooth surface. This is followed by 2-3 coats of the colored gel polish itself, depending on the opacity desired and the formula's pigmentation. Each coat of color should be cured under an LED or UV lamp as per the polish's instructions. Finally, a top coat is applied to seal the color, adding shine and durability. It's crucial to cure each coat properly under the lamp to ensure longevity and prevent peeling or chipping. In total, including the base and top coats, you’re looking at about 4-5 layers of gel.
You May Like
Q&A
- •which amino acid is an imine
- •is steel epoxy conductive
- •does fiberglass resin smell when curing
- •is closed pore polyethylene flammable
- •how to weld low density polyethylene
Popular Information
- •Westlake to acquire PVC, TPE compounding firm Dimex
- •INEOS Electrochemical Solutions bags technology contract from Tamilnadu Petroproducts for caustic soda facility
- •Price Summary of Related Products in Domestic Plasticizer Industry Chain
- •Grasim Industries Q1 profit dips 4.5 per cent to Rs 718 crore
- •Ineos Inovyn to deploy hydrogen trucks in France

