


-
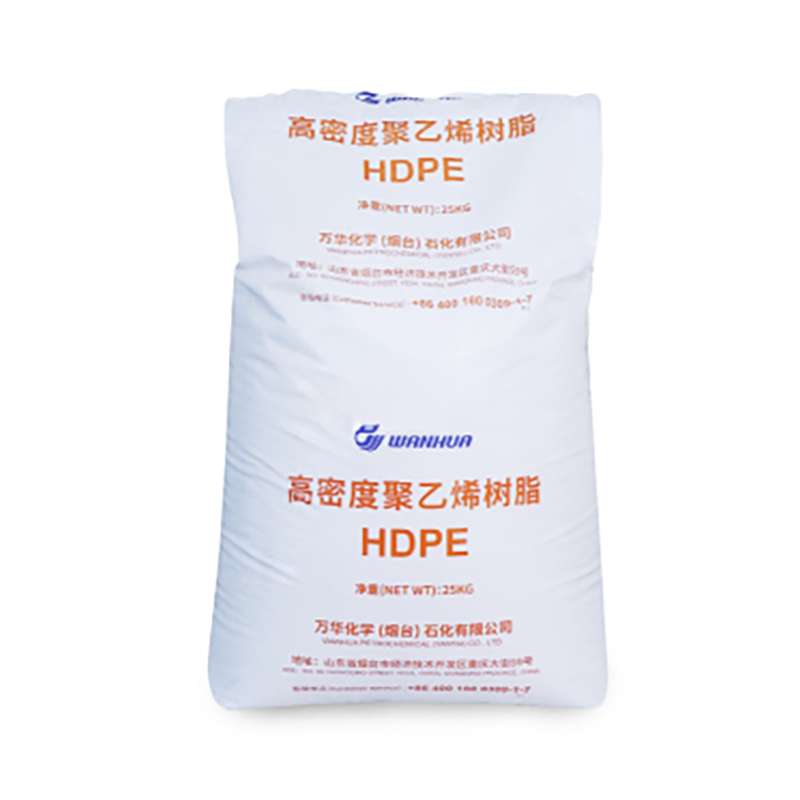 Wanhua 23050HDPE PE100
 -
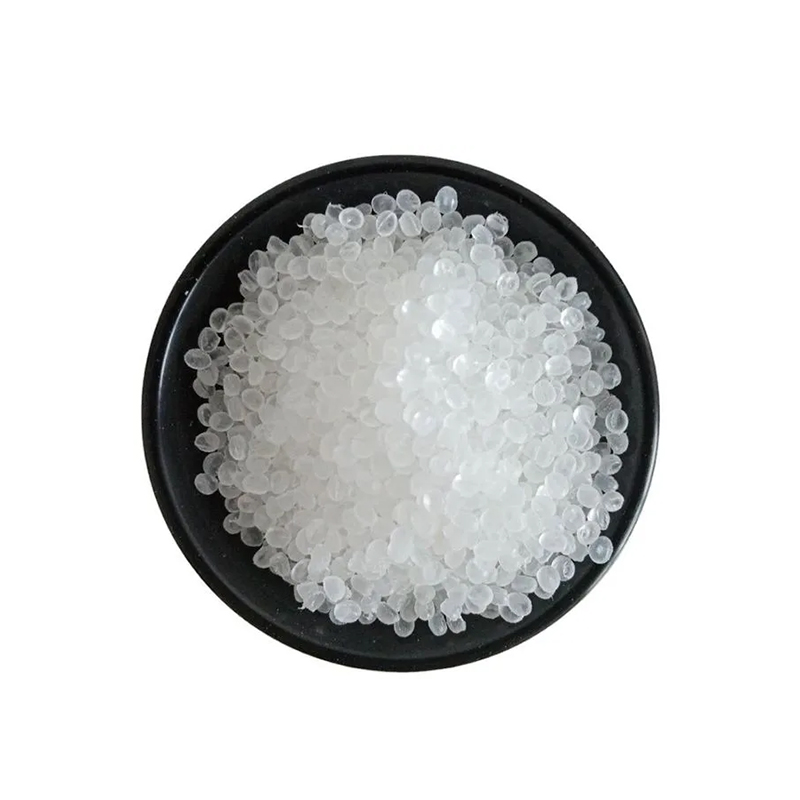 Yisheng Dahua Bottle Grade PET Chips IV0.80
 -
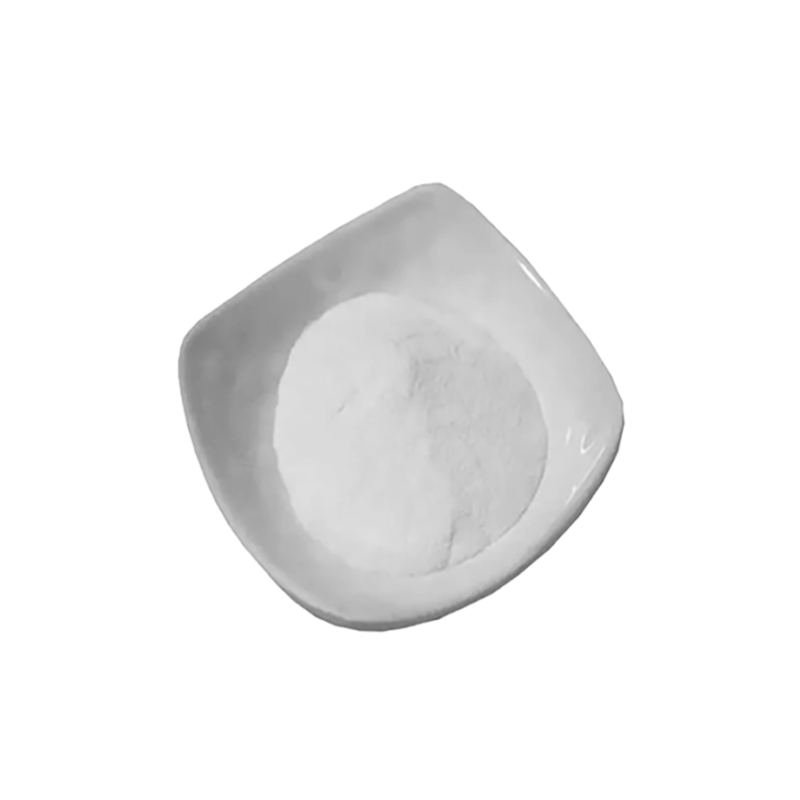
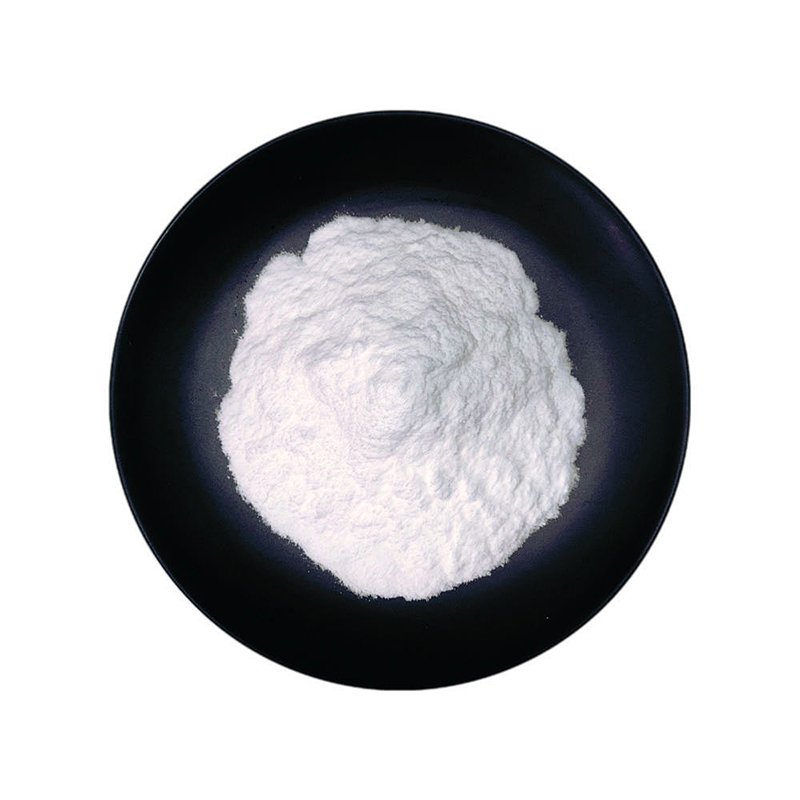 Talc powder
 -
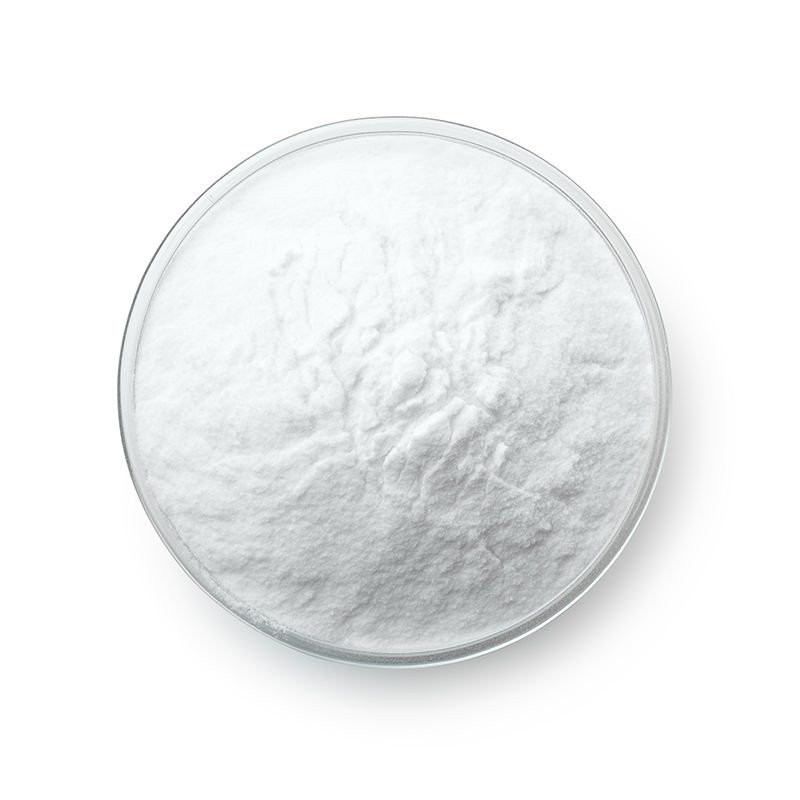 Shenghua Fine Chemicals Precipitated Barium Sulfate
 -
 Manufacturers direct selling gift packaging boxes 3 compartment cornstarch rectangle food container
 -
 L-Citrulline Dl-Malate 2: 1 99% Powder
 -
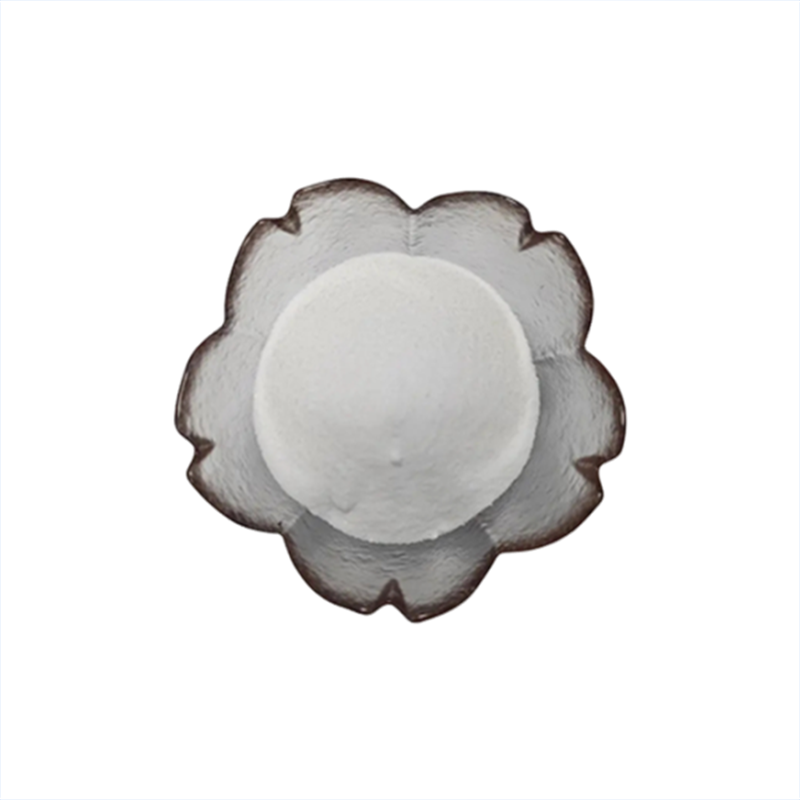 Danhai chemicals Coating Grade Talcum Powder 400 mesh A
Q
what are the advantages of having accessory pigments

I'm a seasoned industrial engineer with a keen interest in machine learning. Here to share insights on latest industry trends.
You May Like

To perform a fill ink on a Roland VersaCAMM VS-540i printer, follow these steps: First, make sure the printer is turned on. Navigate to the printer's menu through the LCD panel and select the "Ink Management" option. From there, choose "Ink Fill" or a similarly named option to start the ink filling process. The printer will then prime the ink lines, ensuring that ink flows smoothly from the cartridges to the print head. It's important to have sufficient ink in the cartridges before starting this process and to follow any on-screen instructions carefully. If you're unsure or encounter problems, consult the printer's manual or contact Roland support for assistance. Regular maintenance, including ink fills, is crucial for optimal printer performance and longevity.

Cleaning epoxy tools requires swift action to prevent the resin from curing on them. Firstly, wipe off any excess epoxy with paper towels. For tools with uncured epoxy, using acetone or isopropyl alcohol can be effective. Soak a rag in the solvent and thoroughly wipe your tools. For tools that have partially cured epoxy, soaking them in vinegar for a few hours can help soften the resin, making it easier to remove. Always wear gloves to protect your skin and ensure proper ventilation when using solvents. Tools like spreaders or brushes that are inexpensive may be disposable, depending on the cost-effectiveness of cleaning versus replacement. For fully cured epoxy, mechanical removal (sanding or scraping) might be necessary, though this can be labor-intensive and potentially damaging to the tool's surface.

Painting PVC involves proper surface preparation, using the right primer and paint, and ensuring adequate curing time. First, clean the PVC thoroughly with a mild detergent and water mixture, then rinse and let it dry completely. Next, sand the surface lightly with fine-grit sandpaper to create a better surface for the primer and paint to adhere to. Wipe off all dust. Apply a PVC-specific primer, allowing it to dry as per the manufacturer’s instructions. Then, use a spray paint designed for plastic surfaces; apply thin, even coats, letting each one dry before applying the next. For best results, apply at least two coats. Finally, consider adding a clear protective coating to enhance durability. Ensure you work in a well-ventilated area and follow safety guidelines.
You May Like
Q&A
- •titanium’s melting point
- •what are amino acids produced from
- •does titanium have nickel in it
- •how to thicken uv resin
- •how to transfer ink to wood with mod podge
Popular Information
- •PVC prices have risen 69.8% since May 20: ICICI Securities
- •Environment Ministry planning to use real time violation alerts
- •Vinnolit plans expansion of its chlorine and VCM capacity
- •Breaking through the export bottleneck of talc powder and taking a shortcut to high-end products
- •Clariant to showcase its sustainably evolved coatings at the American Coatings Show 2024

