


-
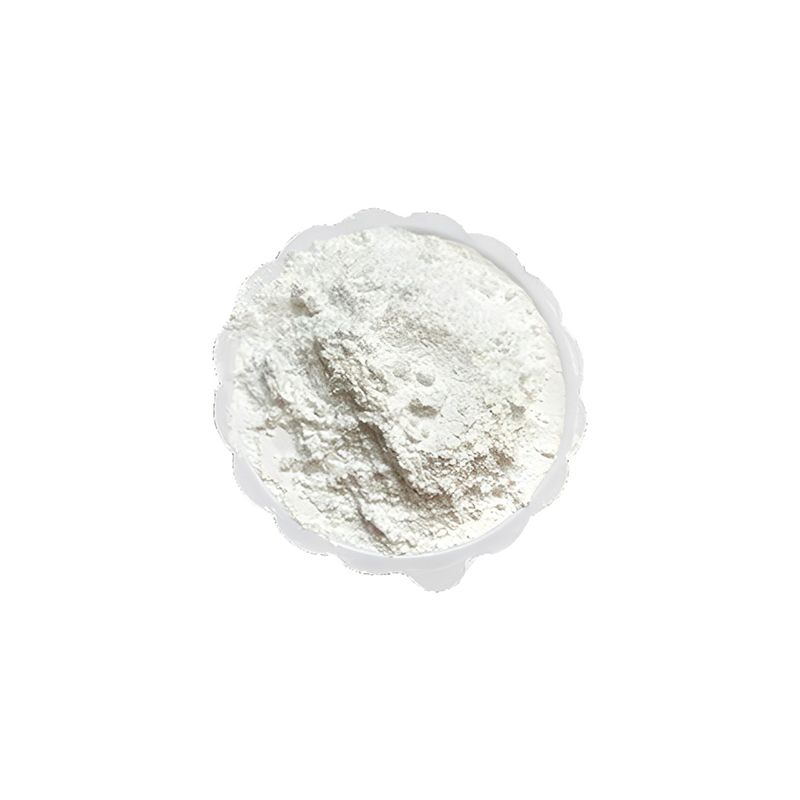 Talcum powder plastic grade 2000mesh
 -
 Yibin Tianyuan Rutile Titanium Dioxide TiO2 TYR-588 for Coating and Ink
 -
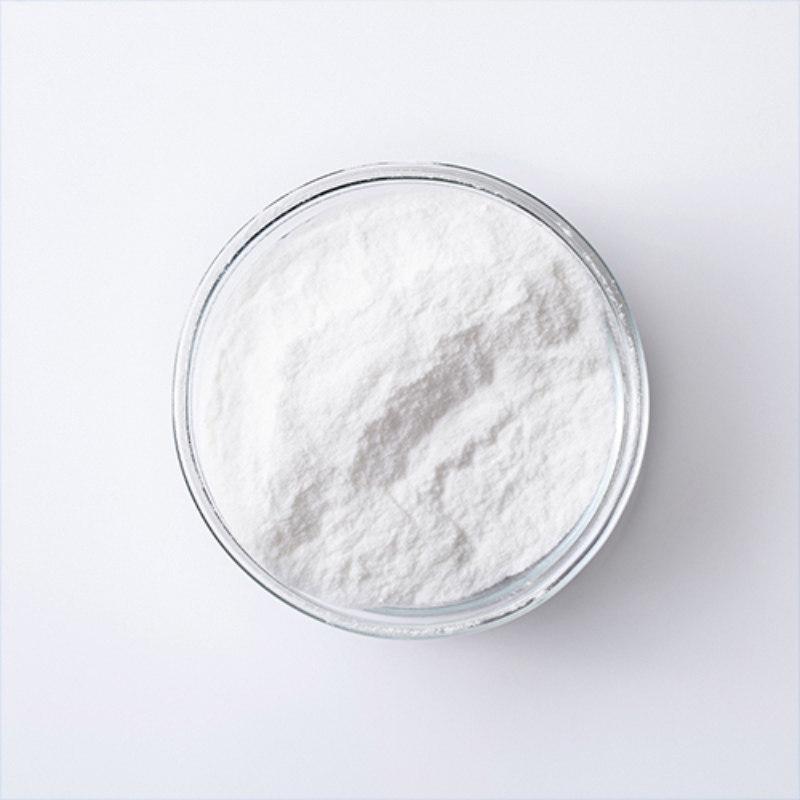
 D-Aspartic Acid Powder
 -
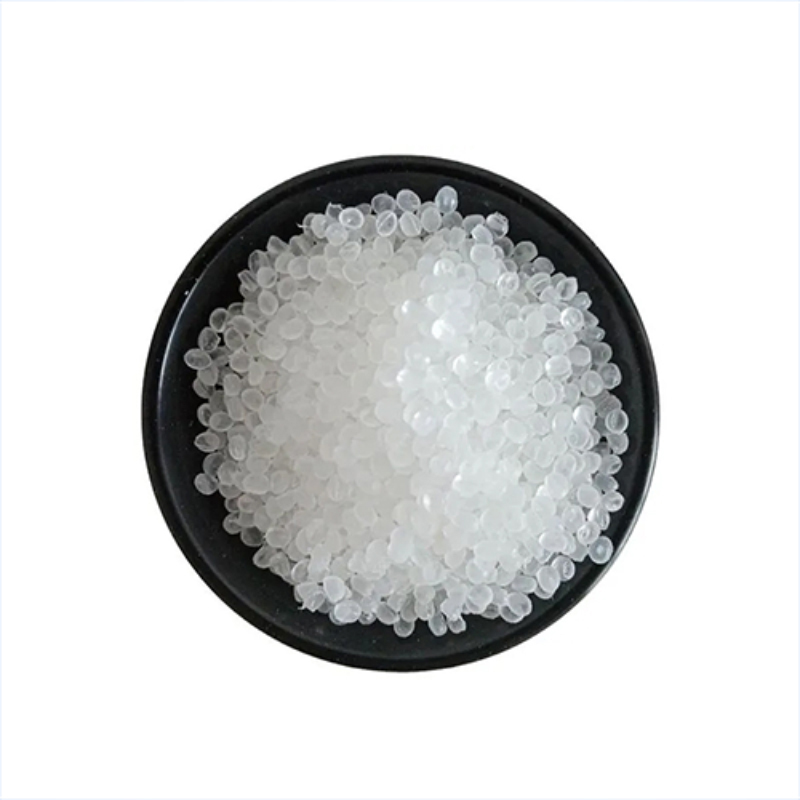 Polypropylene 550J
 -
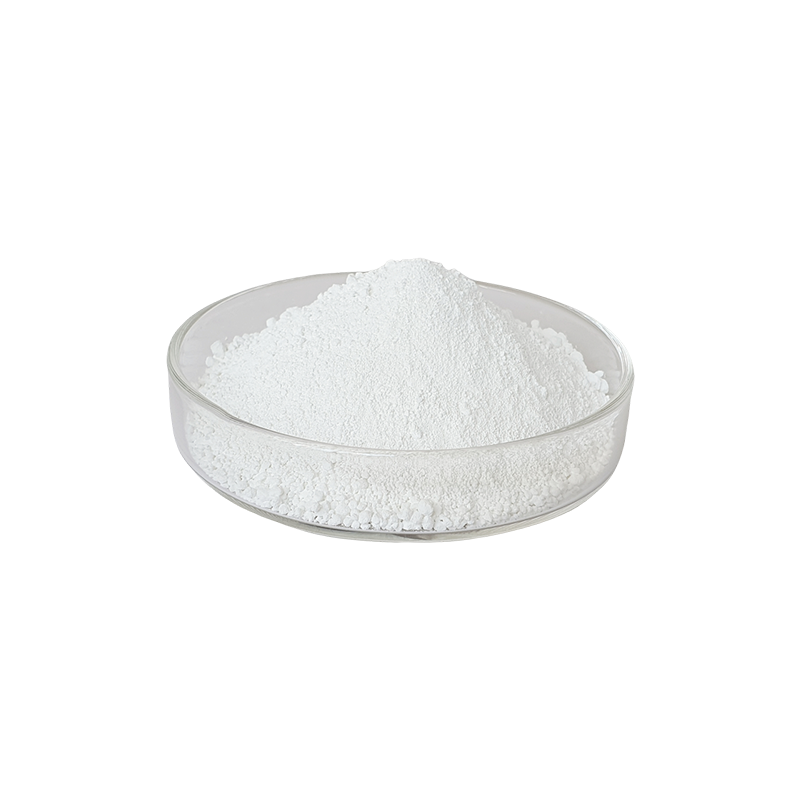 Xinweiye Heavy Calcium Carbonate 3500 Mesh
 -
 PP Yarn PPH-T03
 -
 ZF1000 Square shape 1000ml Disposable Microwave Plastic PP Takeout Box Food Containers with lid
Q
are their ink ribins in resident evil 1.5

I'm a seasoned industrial engineer with a keen interest in machine learning. Here to share insights on latest industry trends.
You May Like

To fix a crack in epoxy, start by thoroughly cleaning the area around the crack to ensure good adhesion. Sand the surface slightly with fine-grit sandpaper to remove any gloss and create a rough surface for the repair epoxy to bond to. Next, carefully apply a high-quality epoxy resin specifically designed for repairs, filling the crack completely. Use a putty knife or toothpick for precise application. Allow it to cure according to the manufacturer's instructions, which could range from a few hours to overnight. After curing, sand the area smooth and clean any dust before applying a top coat of epoxy for a seamless finish. This method ensures the repaired area blends in well with the surrounding material and restores the structural integrity of the original epoxy.

Loosening a PVC union can be straightforward with the right tools and techniques. Firstly, ensure the water supply is turned off to avoid any accidents. A PVC union consists of three parts: a nut, a female end, and a male end. Your goal is to unscrew the nut that holds these ends together. You may do this by hand if it's not too tight; otherwise, use a pair of large adjustable pliers or a pipe wrench. Place the tool around the nut and turn it counterclockwise. If it's particularly stubborn, applying a penetrating oil like WD-40 around the nut and letting it sit for a few minutes can help. Be careful not to apply too much force that could damage the PVC. Once loosened, you can easily unscrew the nut by hand and separate the union pieces. Remember, PVC unions are designed for easy maintenance and disassembly, so with patience and the right approach, you should have success.

Threading an ink ribbon on a Sharp EL-1197P requires patience and attention to detail. First, ensure the calculator is off and unplugged for safety. Open the printer compartment to access the ribbon. Remove the old ribbon, if present, by gently lifting it out of its position. Take the new ribbon cartridge and observe the direction in which the ribbon should feed through the machine - this is typically indicated by arrows or a diagram on the cartridge or printer compartment. Align the new ribbon cartridge with the guides and gently press it into place, ensuring it's seated properly. Manually turn the spool a few times to ensure the ribbon feeds smoothly without any twists or kinks. Finally, close the printer compartment, plug the calculator back in, and perform a test print to ensure the ribbon is correctly installed and producing clear prints. If the print is faint or uneven, double-check the ribbon is properly seated and tensioned.
You May Like
Q&A
- •is caron kindness yarn discontinued
- •how to turn alpaca fleece into yarn
- •is resin bpa free
- •a b s plastic
- •who owns husky injection molding
Popular Information

