


-
 PASTE PVC RESIN P450
 -
 Paste PVC resin PB 1156
 -
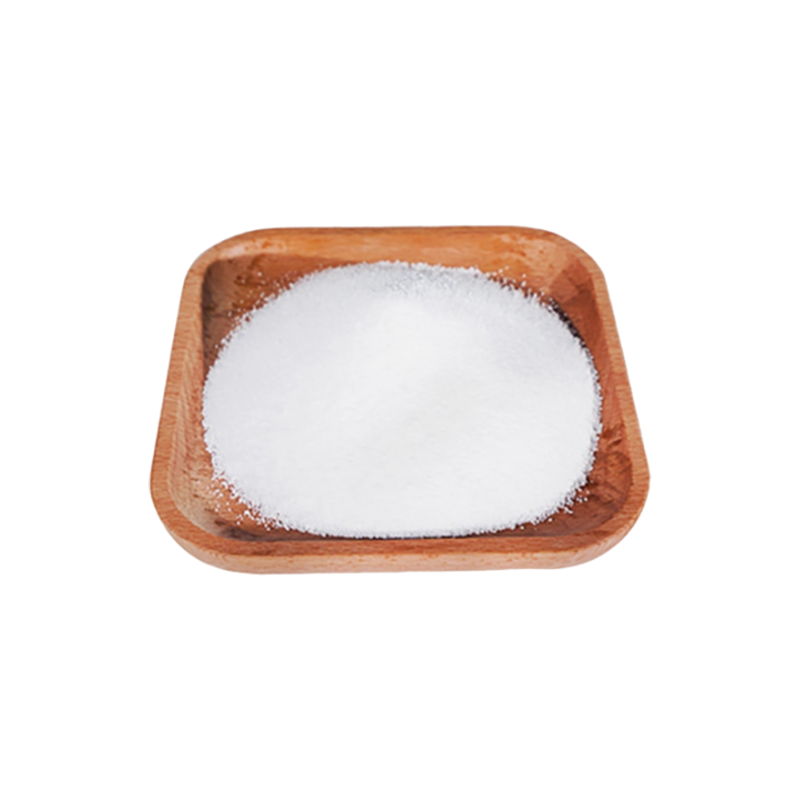
 Hot selling high quality wedding plates disposable set dinnerware plastic cold drink cups 450ml PP disposable party cup
 -
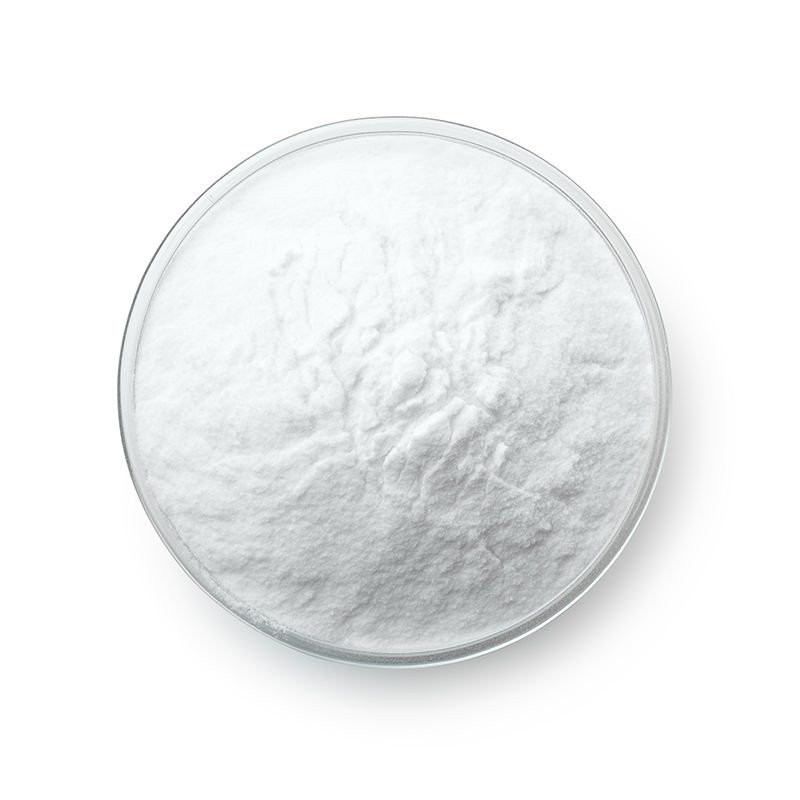 Shenghua Fine Chemicals Precipitated Barium Sulfate
 -
 Heavy Active Calcium Carbonate 1000 Mesh
 -
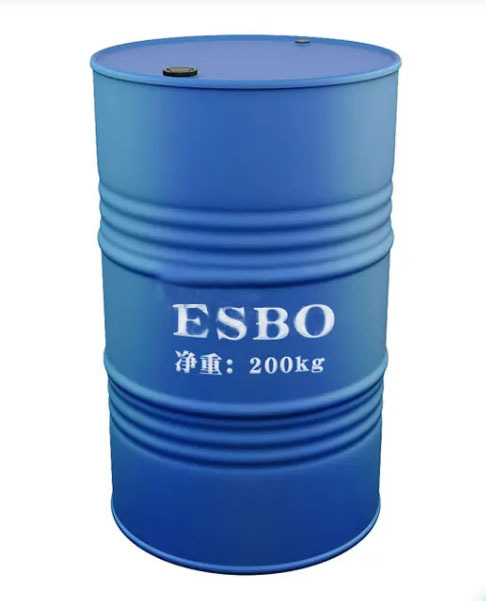 ESBO(Epoxidized Soybean Oil)Plasticizer
 -
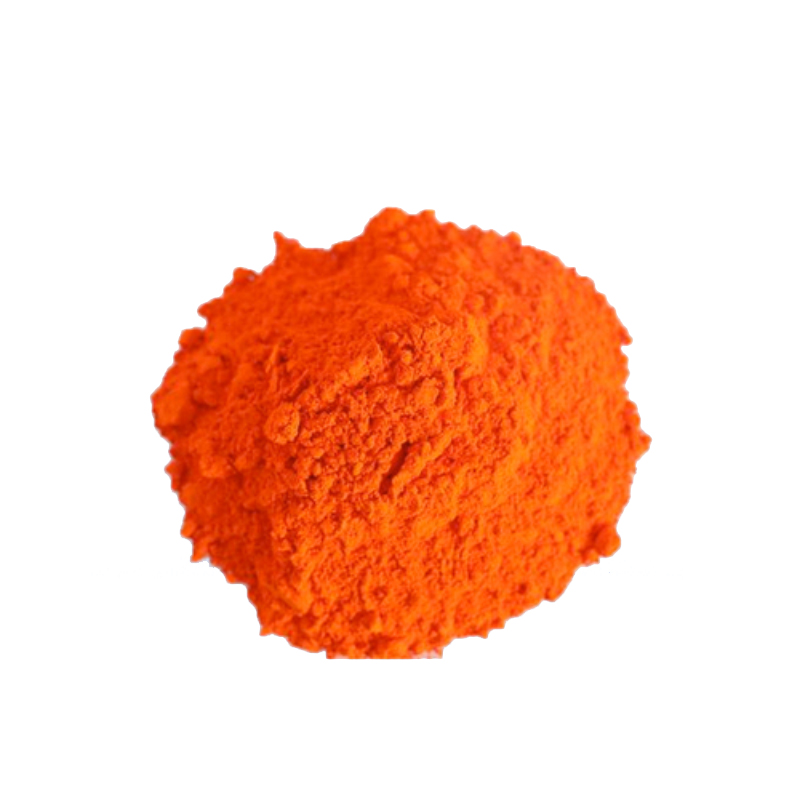 Dioxazine Orange 13 Pigment for Plastic Coating and Painting
Q
does all epoxy resin cure with uv

I'm a seasoned industrial engineer with a keen interest in machine learning. Here to share insights on latest industry trends.
You May Like
Sealing Sharpie ink on a variety of surfaces ensures its longevity and prevents smearing. The method depends on the surface, but generally involves applying a clear sealer. For paper, a spray-on fixative used for drawings is effective. On non-porous surfaces like glass or metal, a clear, acrylic sealer works well. Always test on a small area first. Apply in a well-ventilated area, holding the can 6 to 8 inches away and spray in a light, even coat. Allow it to dry completely before handling. Multiple thin coats are better than one thick coat to avoid drips or uneven finish.

Coating a shell with resin involves a few steps to ensure a durable and smooth finish. First, prepare the shell by cleaning it thoroughly to remove any dirt or oils. Next, select a clear epoxy resin for a strong, waterproof coat. Mix the resin and hardener according to the manufacturer's instructions, ensuring the correct ratio for a hard cure.
Work in a well-ventilated area and use gloves to protect your skin. Apply a thin layer of mixed resin over the shell using a brush or pour technique, depending on the size of the shell and the desired effect. Use a toothpick to pop any air bubbles that appear. Allow the resin to cure in a dust-free environment. The curing time can vary, but it typically takes 24-48 hours for the resin to fully harden.
For best results, consider doing a second coat after the first layer has cured to ensure an even and glossy finish. Remember, working with resin requires patience and practice, so don't be discouraged by initial imperfections. The end result is a beautifully preserved shell with a glossy, protective coat that enhances its natural beauty.

When selecting a loom for working with scarfie yarn, consider both the size and type of loom that will best accommodate the yarn's unique characteristics. Scarfie yarns, known for their softness and blend of materials, often require a loom that can handle their thickness without causing tension issues. A knitting loom with at least 30 pegs is ideal, as it provides enough width for a standard scarf while allowing for easy weaving. For beginners, a simple rectangular frame loom, such as the CinDWood Loom or Knitting Board, offers straightforward operation and versatility. If you're looking for more intricate patterns, a multi-loom setup or a wider gauge round loom like the Knifty Knitter might be more suitable. These looms offer flexibility in creating different stitch patterns and textures. Ultimately, choose a loom that aligns with your skill level and desired project complexity, ensuring a smooth and enjoyable knitting experience.
You May Like
Q&A
- •how to get pvc cap off
- •btu of polypropylene
- •how to do ink analysis
- •can abs be injection molded
- •a short history of polymer science stahl
Popular Information

