


-
 Oriental Optical Brightener ER-I
 -
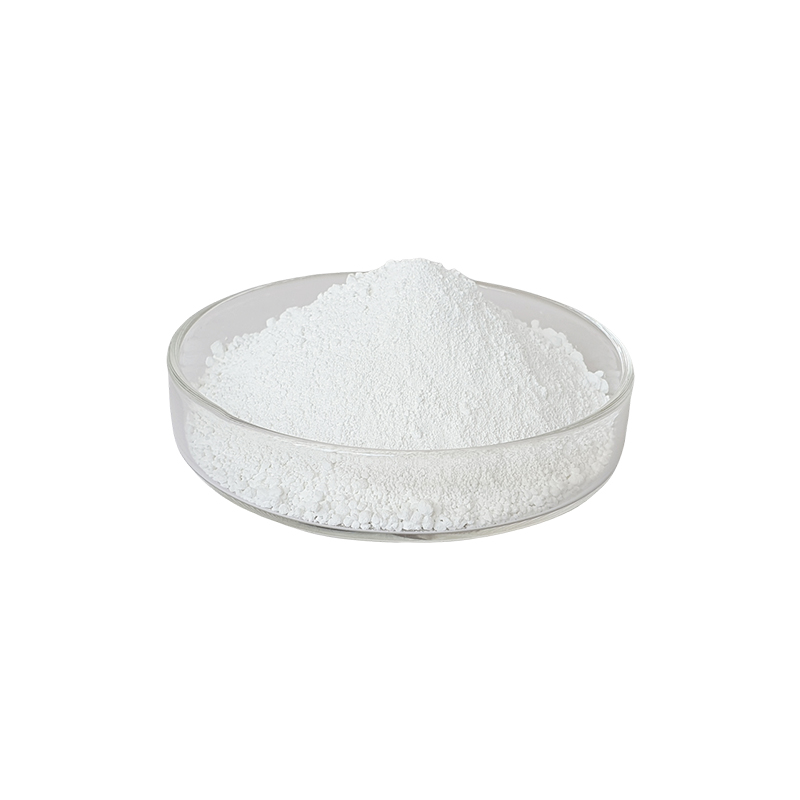
 Wufeng Weitai Nano Barium Sulfate 8000 mesh
 -
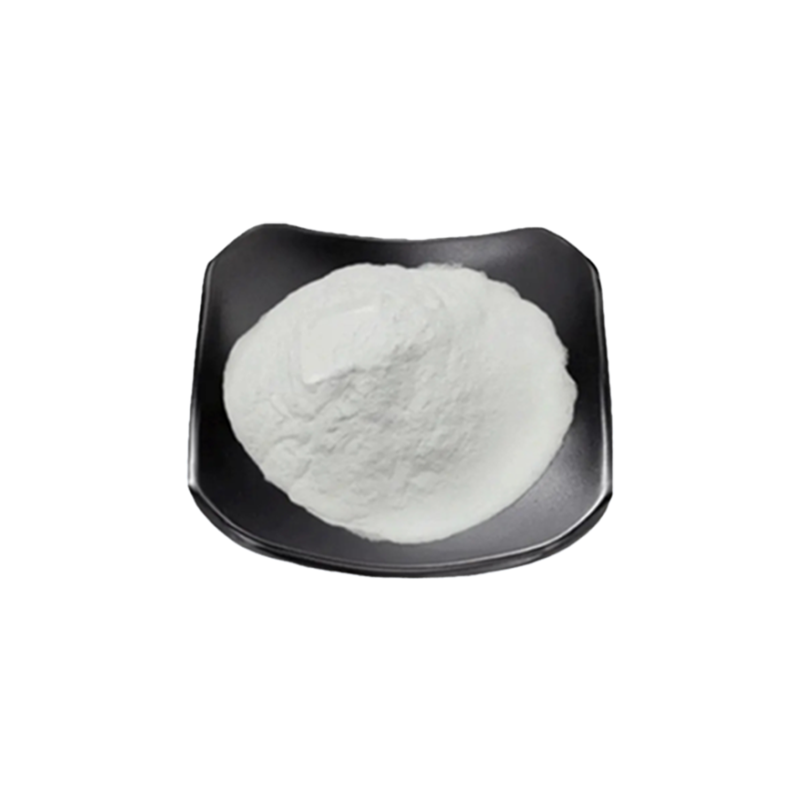
 Coted Ascorbic Acid 97% Feed grade
 -
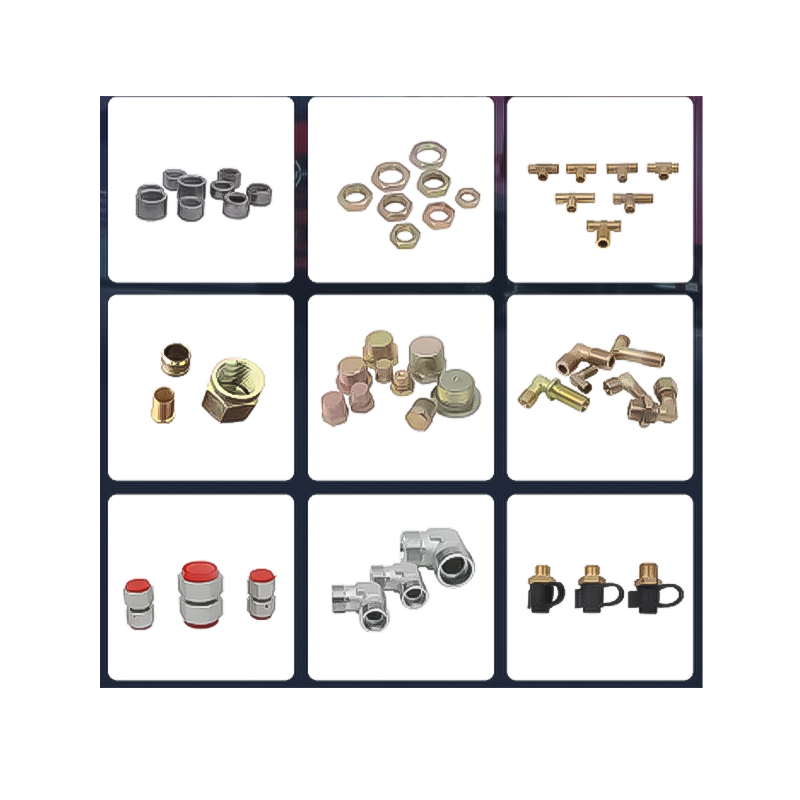 pipe fitting
 -
 Danhai Chemicals Paper-making Grade Talcum Powder 325 Mesh B
 -
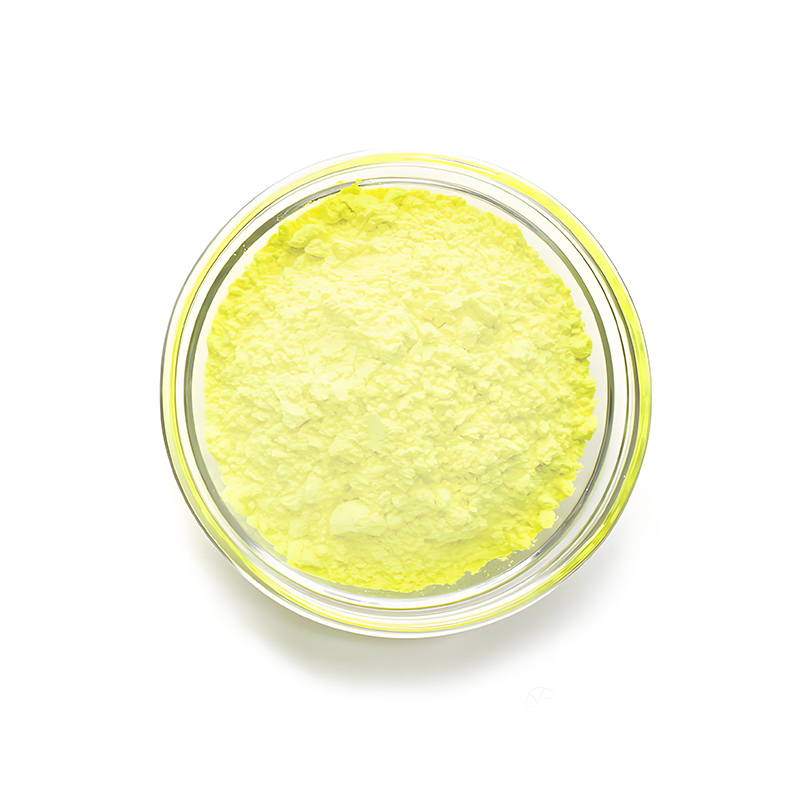
 Yellow Pigment GO-1
 -
 2023 innovative products biodegradable cornstarch cutlery set Eco friendly biodegradable cutlery
Q
does black ink turn green

I'm a seasoned industrial engineer with a keen interest in machine learning. Here to share insights on latest industry trends.
You May Like

Dyeing gloves can be an easy way to refresh or customize your gear. First, identify the glove material: natural fibers like cotton and wool dye well with standard fabric dyes, while synthetic materials like polyester may require specific dyes. Follow these steps for a successful dyeing process:
1. **Prep Your Gloves**: Wash them to remove any oils or dirt that could affect dye adherence. Gloves should be slightly damp before dyeing.
2. **Choose Your Dye**: Use a dye appropriate for your glove's material. Rit dye is versatile for various fibers, but always check the label for compatibility.
3. **Dye Bath**: Prepare your dye bath according to the dye instructions. This usually involves hot water and sometimes salt or vinegar to help the dye adhere.
4. **Dyeing Process**: Submerge your gloves in the dye bath, ensuring they are fully immersed. Stir gently for even coverage, following the time guidelines on the dye package.
5. **Rinse and Dry**: After dyeing, rinse your gloves in cold water until the water runs clear, then let them air dry away from direct sunlight to prevent fading.
Wear gloves and cover surfaces to prevent staining. Experimenting with colors and techniques like tie-dye can yield unique results, making this a fun and personalized project.

Coconut flour is not typically used as a thickener in the traditional sense, due to its high fiber content and unique properties. It is highly absorbent, meaning it can significantly thicken a dish, but it also requires more liquid than other flours to prevent the end result from becoming too dry. Therefore, while it can act to thicken, it's more common in baking than in sauces or gravies, where standard thickeners like cornstarch or wheat flour are preferred. For those on gluten-free or low-carb diets, it may serve as a viable alternative but requires careful adjustment of liquid ingredients in recipes.

Seasoning cast iron is a crucial process for creating a non-stick surface and preventing rust. Ideally, you should apply at least 3 to 4 thin coats of seasoning for a new or stripped cast iron pan. The process involves coating the pan with a very thin layer of a high-smoke-point oil and then heating it beyond the oil’s smoke point, which creates a polymer layer that bonds to the surface. This should be done in an oven set around 450-500°F for an hour per coat, allowing the pan to cool down in the oven between coats. It's important to use a thin coat of oil for each layer to avoid a sticky residue. Over time and with regular use, your pan will require additional seasoning to maintain its non-stick surface. Regular maintenance after each use will help build up the seasoning more naturally and improve its quality.
You May Like
Q&A
- •what material is pvc made out of
- •does apple cider vinegar have amino acids
- •why are starch based polymers biodegradable
- •how to ink sketch leaves
- •what is the thickest yarn
Popular Information

