


-
 PASTE PVC RESIN P450
 -
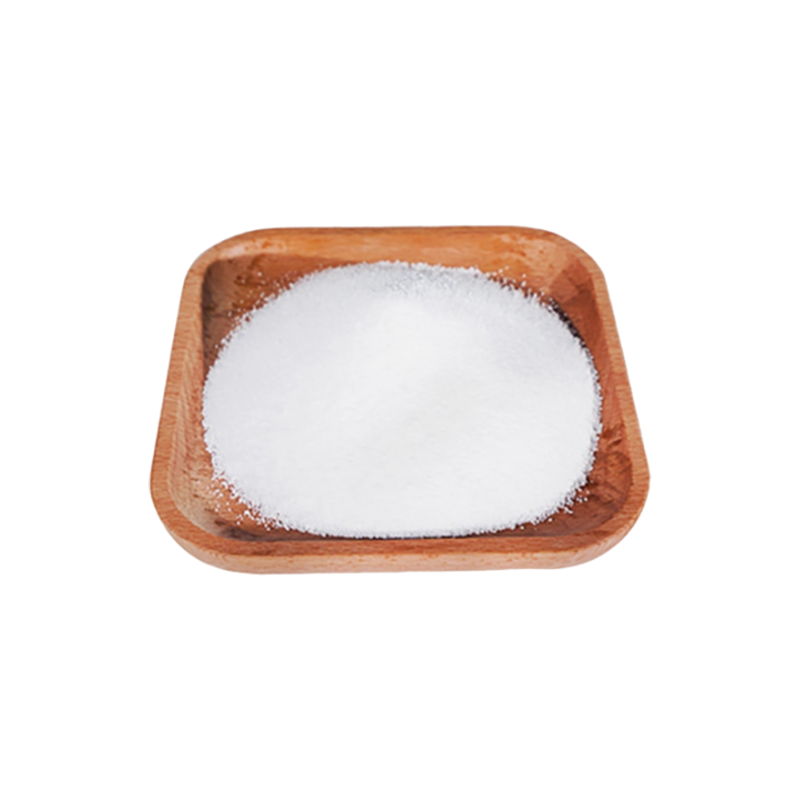 Paste PVC resin PB 1156
 -
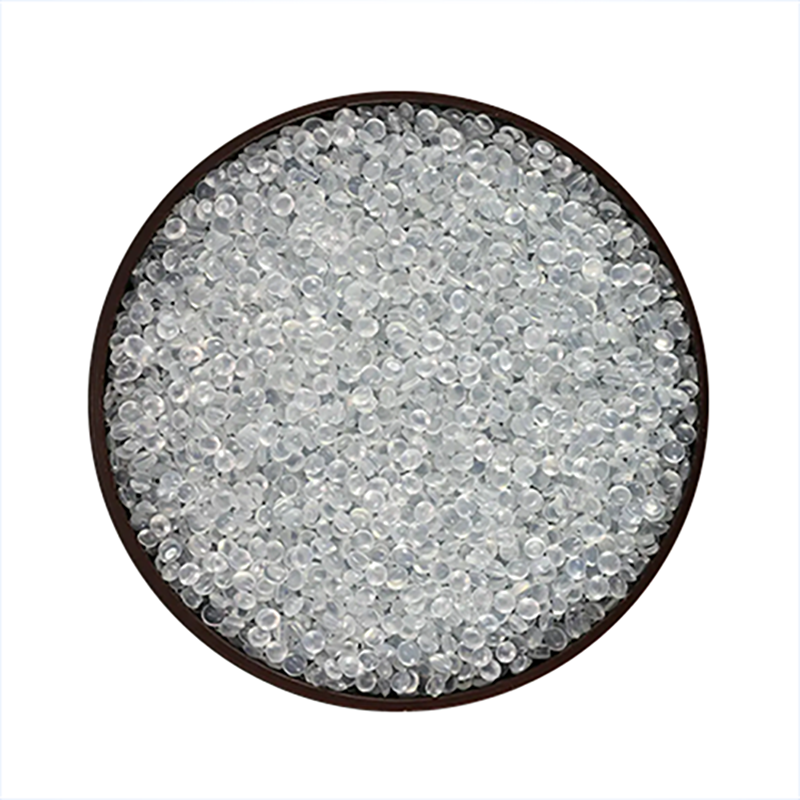
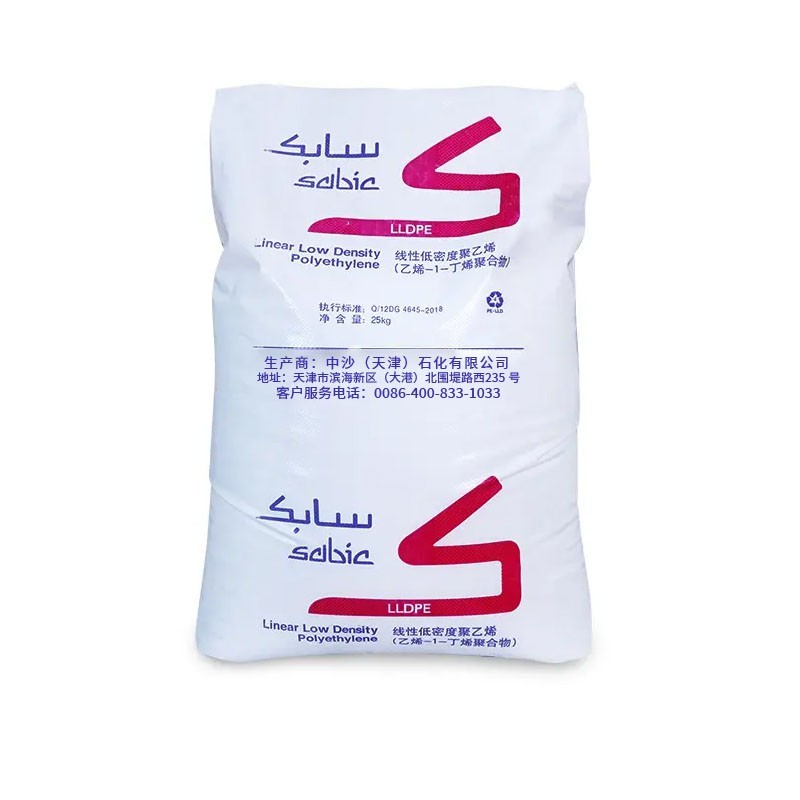 Sabic 222WT LLDPE Film
 -
 High Gloss and Dispersion Rutile Titanium Dioxide Tio2 XR-290
 -
 750ml rectangle food container Cornstarch Disposable to go 2 compartment food containers compostable take out food conta
 -
 Polypropylene 500N
 -
 Mengda Titanium 90% high titanium slag
Q
is polyvinyl chloride

I'm a seasoned industrial engineer with a keen interest in machine learning. Here to share insights on latest industry trends.
You May Like

No, you do not need ink for your Cricut Explore Air 2. Unlike traditional printers, the Cricut Explore Air 2 is primarily a cutting machine designed to cut various materials such as paper, vinyl, and cardstock. It utilizes a precise blade and a series of rollers to cut designs that you create or download from the Cricut Design Space software. However, for projects that require printing, such as print then cut applications, the machine works in conjunction with a standard printer. You design your project in Cricut Design Space, print it on your home printer with ink, and then place the printed material in your Cricut machine for cutting around the design. So, while the Cricut itself doesn’t use ink, you might still need a printer with ink for certain projects.

Creating a resin eyeball involves several steps, starting with selecting the right mold. Sphere molds are ideal for this project. Begin by preparing your resin according to the manufacturer's instructions. Mixing pigments or inks can create the desired color for the eyeball. Pour the first layer into the mold to form the iris and pupil, using a toothpick or a small brush to detail. Let it partially cure. Next, add a layer of clear resin for depth and, once slightly cured, pour the final layer to form the eyeball's white (sclera). After fully curing, you can demold your resin eyeball. Polishing may be necessary for a smooth, glass-like finish. Proper safety gear, like gloves and masks, should be worn when working with resin.

To press patterns into PVC (Polyvinyl Chloride), you need to apply both heat and pressure. The process begins by heating the PVC to make it pliable. This usually requires temperatures around 80°C to 100°C, but the exact temperature might vary based on the PVC's thickness and formulation. Once heated, the PVC can be pressed into a mold or against a patterned surface. Using a press, such as a hydraulic press or even a manual clamp, apply firm, even pressure to imprint the pattern. It's essential to maintain consistent pressure and heat until the PVC cools down to ensure the pattern is firmly embedded. DIY enthusiasts often use a heat gun and homemade molds, while professional settings might use a thermoforming machine. Always wear protective gear to prevent burns or injuries from the heat and pressure involved.
You May Like
Q&A
- •how to dye nubuck
- •how to airless spray 100 solids epoxy
- •what polymers are suceptable to etoh sterilization
- •what amino acids are in glutathione
- •what is meant by pvc in urdu
Popular Information
- •Covestro Launches Chlorine Production Facility in Spain
- •China PE Market Saw a slight Increase Last Week (January 1-5)
- •Shaanxi Longfei Chemical Co., Ltd., Pearl caustic soda manufacturer and supplier
- •Caustic Soda Ran under Pressure in 2020, and the Price Continued to Decline
- •Grasim, Lubrizol to set-up India’s largest CPVC resin plant

