


Q
will multifilament polypropylene rope melt


I'm a seasoned industrial engineer with a keen interest in machine learning. Here to share insights on latest industry trends.

I'm a seasoned industrial engineer with a keen interest in machine learning. Here to share insights on latest industry trends.
You May Like


To make polypropylene rope sandals, you'll need a few supplies: polypropylene rope suitable for footwear (about 10-20 feet, depending on shoe size and design), scissors, a lighter, and a sturdy needle. Start by measuring the length of rope you'll need for each sandal by loosely wrapping it around your foot in the desired design, leaving extra for adjustments. Cut the rope and carefully melt the ends with a lighter to prevent fraying. Begin forming the base of the sandal by looping the rope around the sole of your foot, adjusting for comfort and fit. Use simple knots or braiding techniques to secure the ropes in place, ensuring they're tight enough to hold the shape but not so tight that they're uncomfortable. Continue wrapping and knotting the rope around your foot, securing each pass with stitches using the needle if necessary, until the sandal is as covered as you like. Finish by cutting any excess rope and searing the ends. Customization options include mixing rope colors, adding beads, or using different knotting techniques for unique designs.


Iron oxide refers to a group of chemical compounds composed of iron and oxygen. These compounds vary in oxidation states of iron, leading to different forms such as FeO (iron(II) oxide), Fe2O3 (iron(III) oxide), and Fe3O4 (magnetite, which contains both Fe(II) and Fe(III)). These oxides are ubiquitous in nature, forming minerals like hematite and magnetite, and play key roles in various industrial applications. In the form of rust (hydrated iron(III) oxide), they are a common product of iron corrosion. Used extensively in pigments, iron oxides are crucial in manufacturing paints, coatings, and colored concrete. They also have applications in metal refining and as magnetic materials.


Installing polymer siding panels involves several key steps to ensure a durable finish. First, prepare the wall surface by cleaning it and ensuring it's level. Add a weather-resistant barrier over the sheathing for added protection. Begin the installation from the bottom, carefully following the manufacturer's guidelines for spacing and nailing, to allow for expansion and contraction. Overlap each panel according to instructions to ensure a watertight seal. Corner trims should be attached before the panels for a seamless appearance. Always check for local building codes to comply with specific installation requirements. Using the right tools and taking your time during installation will result in a professional-looking finish.
You May Like


Q&A
- •how to make polyethylene glycol hydrogel
- •does pvc conduit heave when buried below ground
- •is polypropylene biocompatible
- •what are the different engine oil grades
- •what cleans resin
Popular Information
- •Grasim Q4 results: PAT rises 13% to Rs 2,617 cr; revenue rises 26% to Rs 24,399 cr
- •Chandra Asri appointed licensor for EDC plant in USA
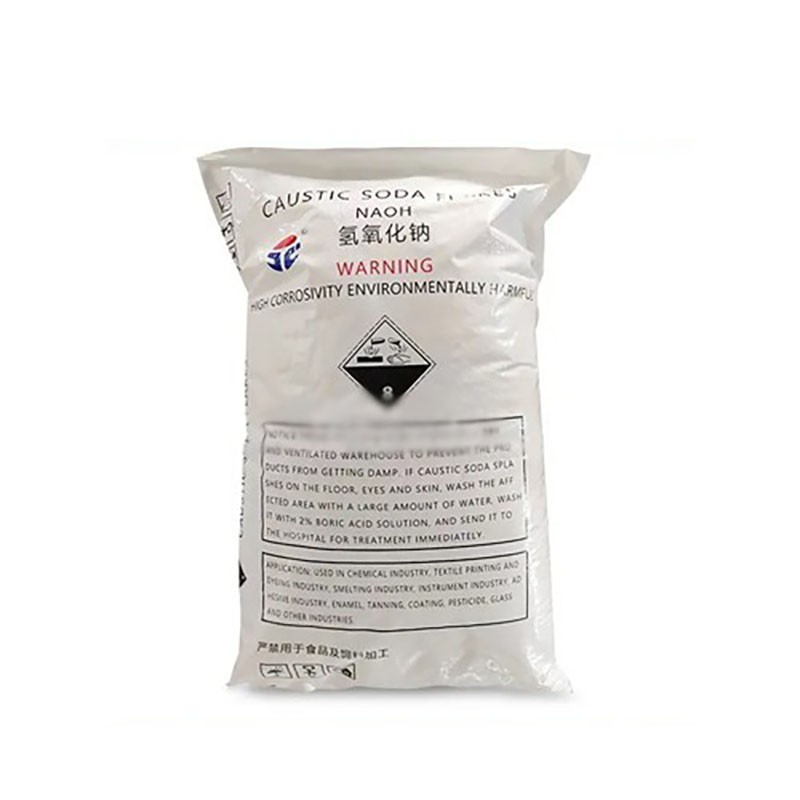
- •The Flake Caustic Soda Prices Were Consolidating at High Levels This Week (September 4-8)
- •Grasim starts trial run for paints business, on track to launch by March
- •Dow and Johnson Matthey’s licensed LP Oxo Process Technology chosen for Anqing’s new oxo plant in China

