


YYDD (Qingdao) Technology Co., Ltd.
Retailer
CN Supplier
3 YRS
Main Products:
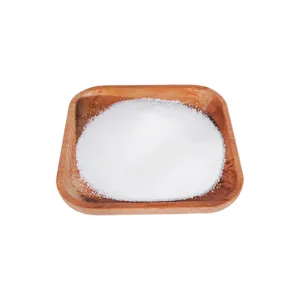
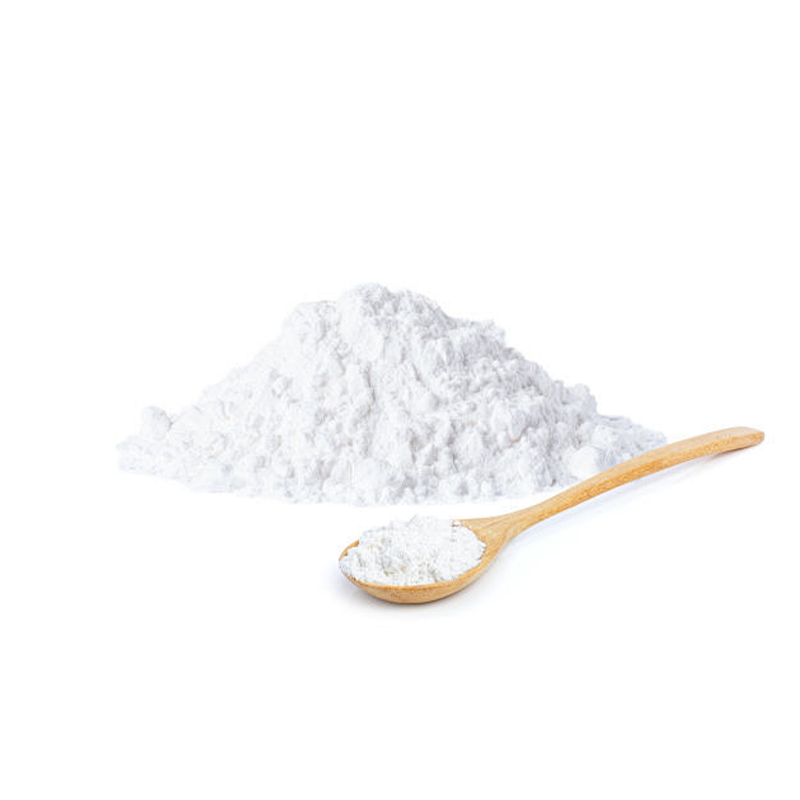
Titanium dioxide, pigments, fillers, alcohols
Established:
2022-01-26
Company Size:
10000
Beijing TDD E-commerce Co., Ltd
Online Store
CN Supplier
11 YRS
Main Products:
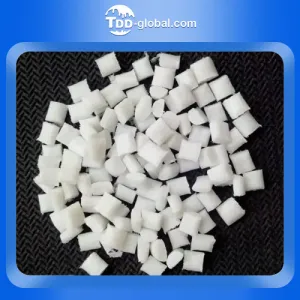
Titanium dioxide, pigments, fillers, alcohols
Established:
2014-12-18
Company Size:
2000