


YYDD (Qingdao) Technology Co., Ltd.
Retailer
CN Supplier
3 YRS
Main Products:
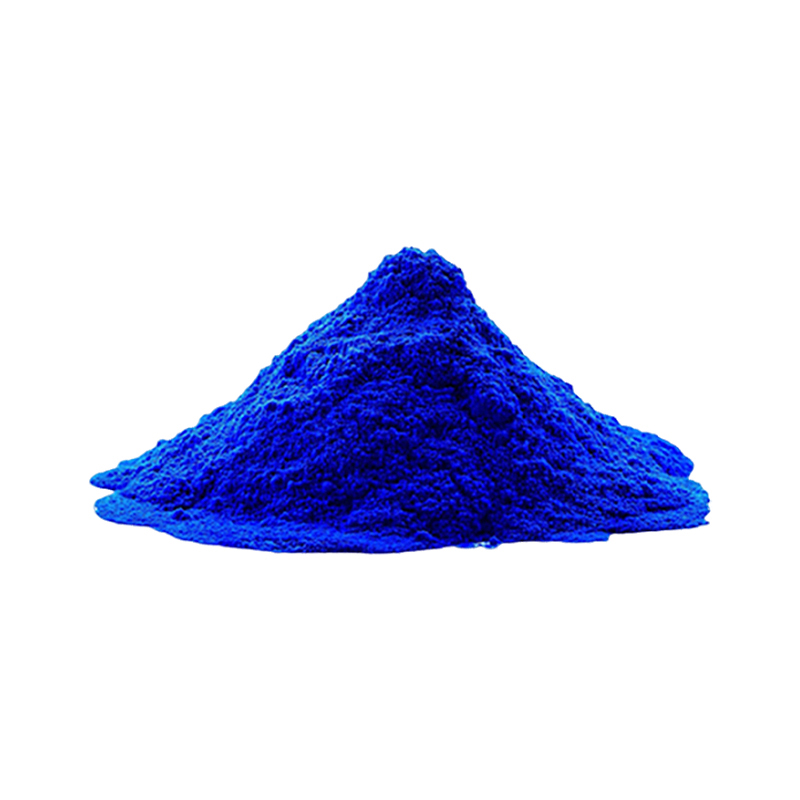
PVC Resin , PP , PE , Pet , Titanium Dioxide , Pigment , Car Tire
Established:
2022-01-26
Company Size:
10000
TDD (QINGDAO ) CROSS-BORDER E-COMMERCE CO.,LTD.
Retailer
CN Supplier
1 YRS
Main Products:
PVC Resin , PP , PE , Pet , Titanium Dioxide , Pigment , Car Tire
Established:
2024-08-01
Company Size:
10000
Beijing TDD E-commerce Co., Ltd
Online Store
CN Supplier
11 YRS
Main Products:
PVC Resin , PP , PE , Pet , Titanium Dioxide , Pigment , Car Tire
Established:
2014-12-18
Company Size:
2000