


-
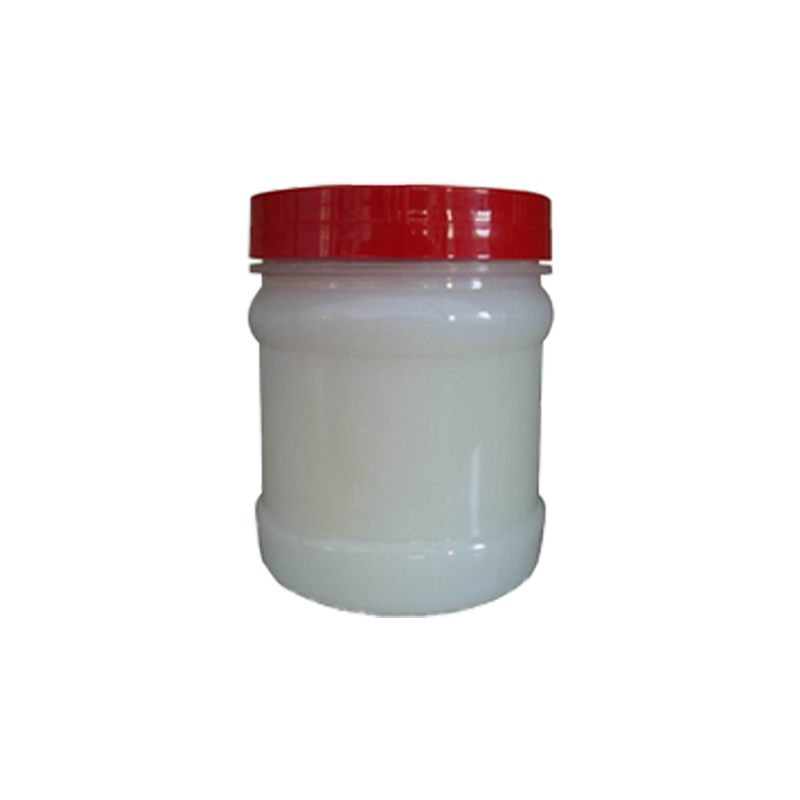 Pure acrylic emulsion
 -
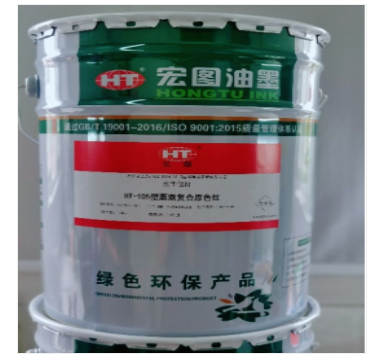 printing ink
 -
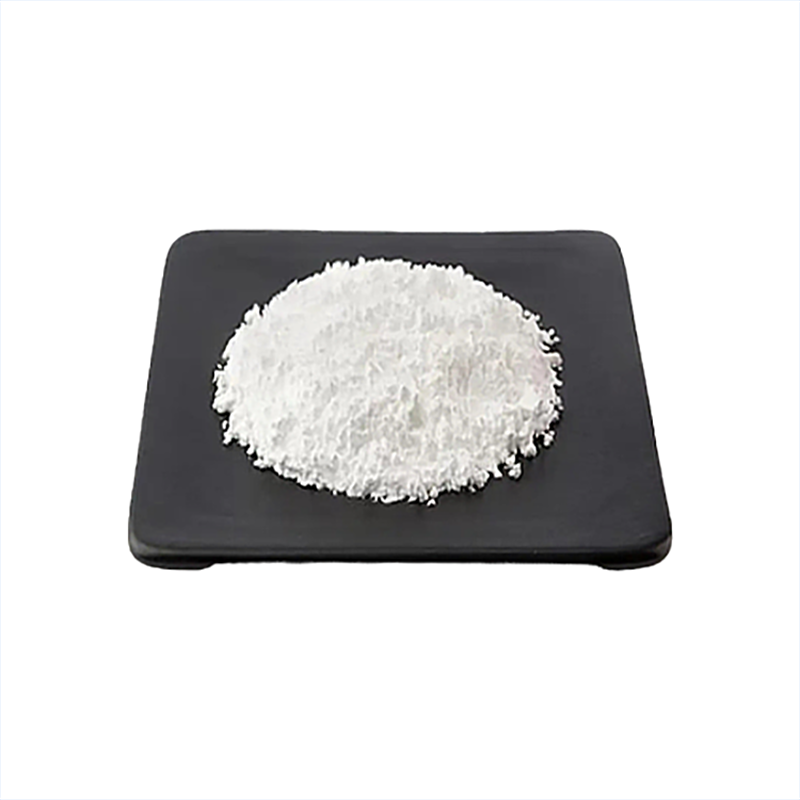 L-Citrulline DL-malate (1:1)
 -
 Factory direct supply cheap price 100% compostable biodegradable tablewares 350ml sugarcane bowl
 -
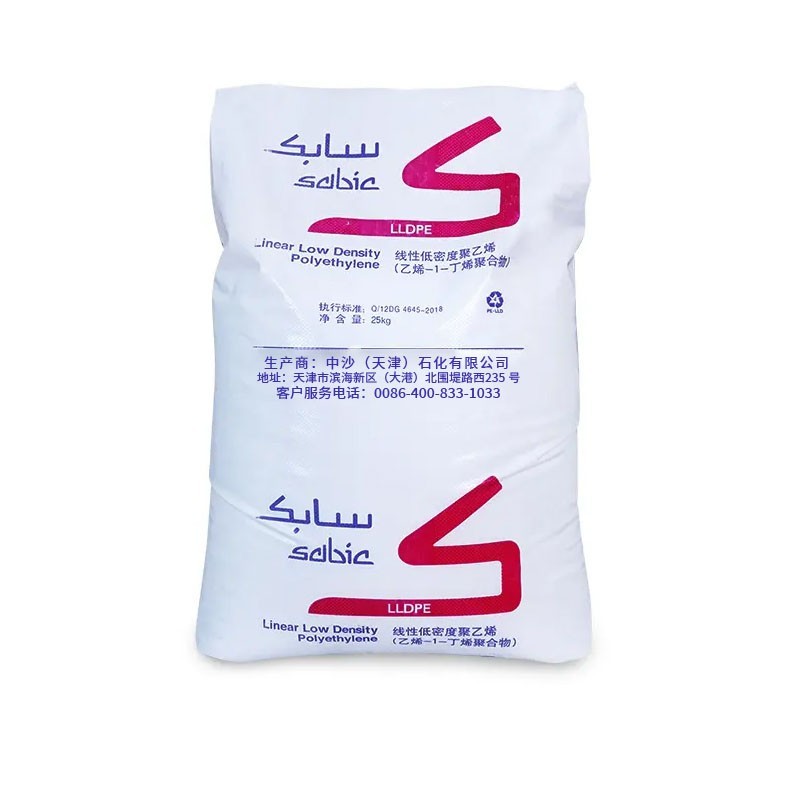 Sabic M200024T LLDPE Injection
 -
 Rutile Titanium Dioxide R-5569
 -
 Wholesale high quality rectangle square disposable paper dishes sugarcane bagasse food container biodegradable plates
Q
what is dralon yarn

I'm a seasoned industrial engineer with a keen interest in machine learning. Here to share insights on latest industry trends.
You May Like

Dr. Martin's India Ink is renowned for its rich pigmentation and fluid consistency, making it a favorite among artists and calligraphers. To thin this ink, you should use distilled water to prevent any impurities that might affect its performance. Start by adding water dropwise, mixing consistently until you achieve the desired viscosity. It's crucial to add water gradually, as it's easier to thin the ink further than to re-concentrate it. Employ a pipette for precision. Test the diluted ink on a scrap piece of paper to ensure it meets your requirements. Remember, thinning the ink will not only affect its flow but might also slightly reduce its opacity and intensity, which could be beneficial or detrimental depending on your project's needs.
PVC glue, known formally as PVC solvent cement, is crafted for binding PVC pipes and fittings. The drying time for PVC glue varies based on the product and environmental conditions. Typically, it becomes tack-free within 15 minutes and sets enough to handle pressure in about 2 hours. However, for a complete cure, which ensures maximum bonding strength and seal integrity, it is often recommended to wait for 24 hours. Factors such as humidity, temperature, and the size of the PVC pipe can influence the drying time. For instance, higher humidity and lower temperatures can prolong the drying process. Always check the manufacturer’s instructions for specific drying times and recommendations to ensure optimal results.

Transferring inkjet photos onto wood is a creative way to display images with a rustic charm. The process starts with reversing the image since it will be transferred face-down onto the wood. Print the photo using an inkjet printer on special transfer paper or thin, regular paper. Prepare the wood surface by sanding it lightly for a smooth finish, and then apply a layer of gel medium on the wood. Place the photo face-down onto the gel, pressing down evenly. Let it dry overnight. Once dry, use a damp cloth to wet the back of the paper, and gently rub off the paper fibers to reveal the image beneath. Seal the image with a clear spray sealant or mod podge to protect it. It's essential to experiment with different images and woods to see what works best. This process is not only easy but also adds a personal touch to décor or gifts.
You May Like
Q&A
- •how to tell polypropylene from polyethylene
- •what does amino acid taste like
- •what do you call the labels with yarn for jars
- •what causes emulsion paint to blister
- •how to spool yarn
Popular Information
- •Analyst Calls: JSPL, Grasim, Thermax, Lemon Tree
- •SABIC SK Nexlene expands capacity of Korea nexlene plant for polyolefin material solutions
- •The Price of Caustic Soda Rose First and Then Fell in February
- •Menthol prices strengthen on increased industrial offtake
- •BASF and NZRCC sign technology license agreement for production of isononyl alcohol

