


-
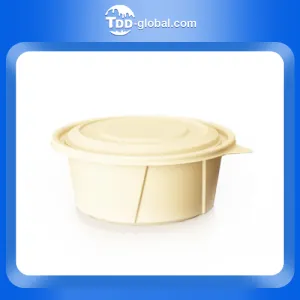 XH-Y1500 Cornstarch 1500ml bowl
 -
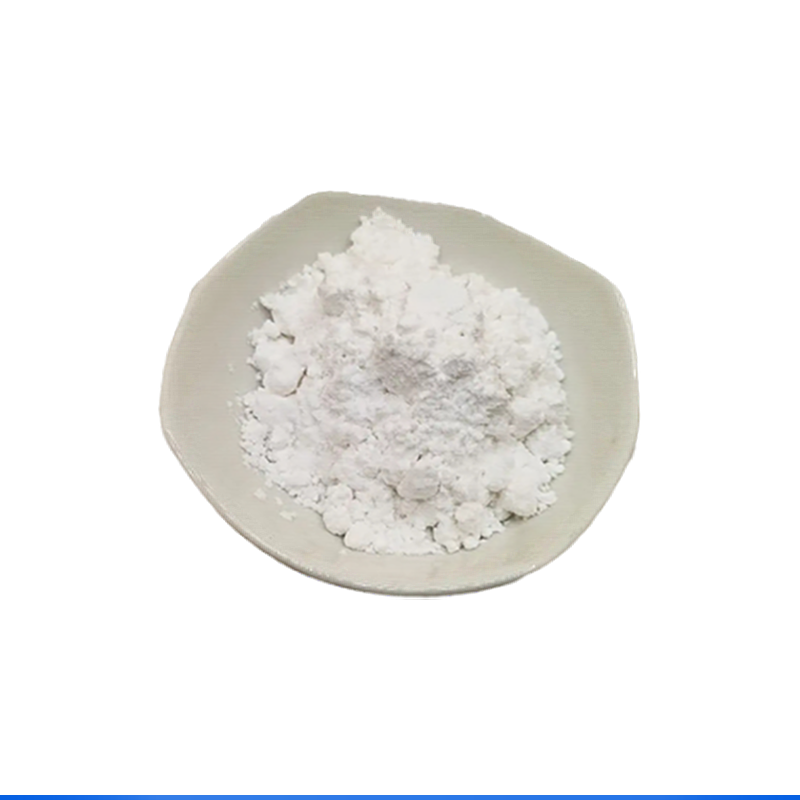
 White Washable 1250 mesh Used for Coating and Plastic Calcined Kaolin
 -
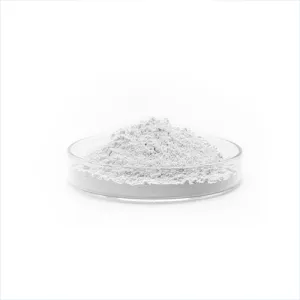
 Liaoning Dongyu Talc Powder DYXN-30A
 -
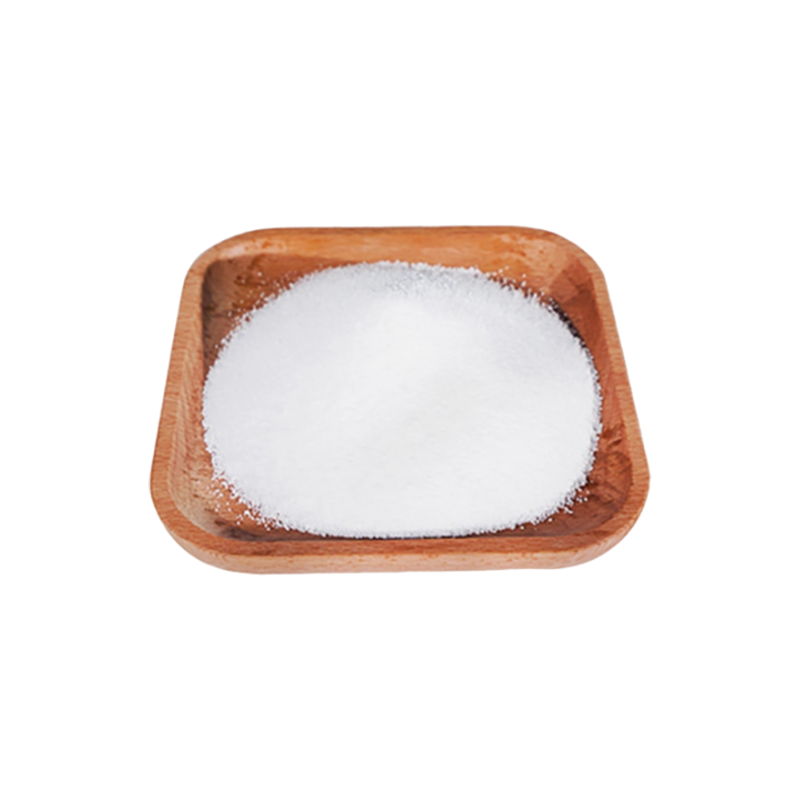 Paste PVC resin PB 1156
 -
 XH-1000F Cornstarch 1000ml rectangle food container
 -
 3 Compartment 1000ml Capacity PP black round Containers Disposable With Lid For To Go Food Packaging
 -
 Hengli GF7750M2 HDPE Raffia
Q
what do osha vehicles look like

I'm a seasoned industrial engineer with a keen interest in machine learning. Here to share insights on latest industry trends.
A knocking engine sound, often described as a metallic pinging or rattling noise, is a distinct indication of improper combustion occurring within an engine's cylinders. This phenomenon, commonly referred to as "engine knock" or "detonation," arises when fuel-and-air mixture ignites prematurely due to excessive heat and pressure in the combustion chamber, rather than from the spark plug's ignition. The sound resembles someone tapping on the engine with a small hammer, albeit rapidly. This can lead to significant engine damage over time if not addressed. Causes range from using fuel with a lower octane rating than recommended, to advanced ignition timing or carbon deposits. Addressing engine knock typically involves using the correct fuel grade, ensuring the ignition system is properly timed, and keeping the engine well-maintained to prevent carbon buildup.

Bringing the universe of nanotechnology to your fingertips. Unraveling the potential of the small, one atom at a time.
Mazda automobiles are produced in Japan.
You May Like

The curing time for PVC cement (also known as PVC solvent cement) differs based on factors including pipe diameter, temperature, and the brand of cement used. Generally, for small diameter pipes (up to 3 inches), a minimum of 15 minutes to a few hours is recommended for handling, and a full cure is achieved in 24 hours. For larger pipes, longer curing times are necessary—up to 48 hours for complete curing. It's crucial to consult the specific product's instructions as formulations may vary. High temperatures can speed up curing, while low temperatures can significantly slow it down. Always ensure adequate ventilation when working with PVC cement due to its strong fumes, and follow safety guidelines to prevent health risks.

Sewing 11oz polypropylene (PP) fabric, a type of thermoplastic polymer, requires specialized approaches due to its non-traditional nature. Firstly, choose a strong, sharp needle like a denim or leather needle to manage the fabric's weight and texture. Opt for heavy-duty, polyester threads for their strength and compatibility with PP's chemical properties, ensuring the seam's durability. Adjust your sewing machine's tension settings slightly higher than normal to accommodate the fabric's thickness. Slow sewing speeds help maintain control and prevent needle breakage. Due to PP's inability to retain moisture, it's crucial to avoid traditional iron-based pressing techniques. Instead, lightly steam or use a pressing cloth to protect the fabric from direct heat, which can melt or distort it. Finally, perform test runs on scrap pieces to fine-tune your machine's settings and get a feel for the material before starting your main project. This preparatory step can significantly enhance the quality of your work and reduce the risk of errors.

Polypropylene siding is a type of exterior plastic cladding made from polypropylene resin, a durable and flexible plastic material. It's designed for residential and commercial buildings, providing an attractive, low-maintenance option that mimics the appearance of traditional materials like wood. This siding offers excellent resistance to weathering, fading, and impact damage, making it a popular choice for areas subject to harsh environmental conditions. It is also lightweight and comes in a variety of styles and colors, allowing for customization according to architectural preferences. Compared to other materials, polypropylene siding is cost-effective and environmentally friendly, as it is recyclable and requires less energy to produce. Its installation is straightforward, but it's vital to follow proper guidelines to ensure optimal performance and longevity.
You May Like
Q&A
- •how to center pull yarn
- •what products use injection stretch blow molding
- •polypropylene resin uses
- •what had fiber
- •what does eating fiber do
Popular Information
- •RIL 2Q FY21 revenue increases by 27%
- •Kemira scales up water treatment chemicals production in China
- •View: India’s duty structure must be turned upside down for global competitiveness
- •This Week, the Titanium Tetrachloride Market Remained Strong (January 22-26)
- •Meghmani to invest Rs. 230 crores in expanding caustic soda production capacity


