


-
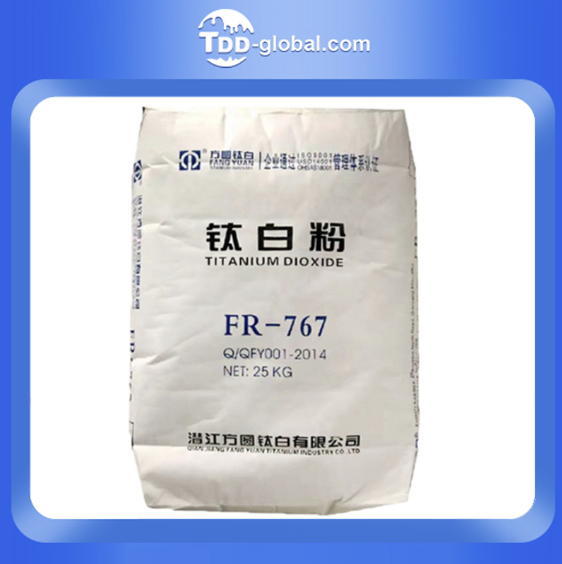
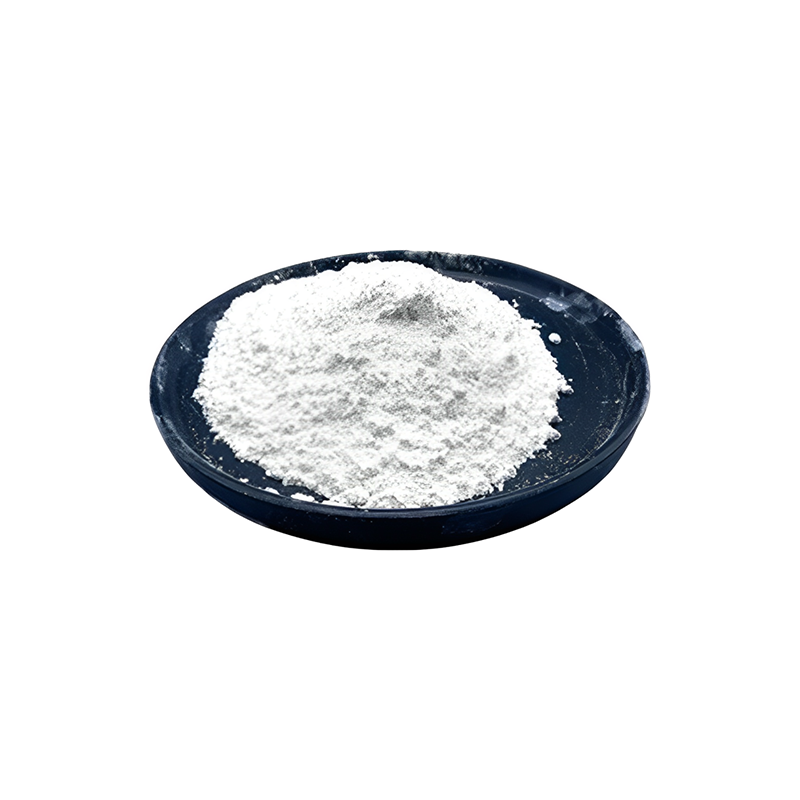
 TITANIUM DIOXIDE FR-761
 -
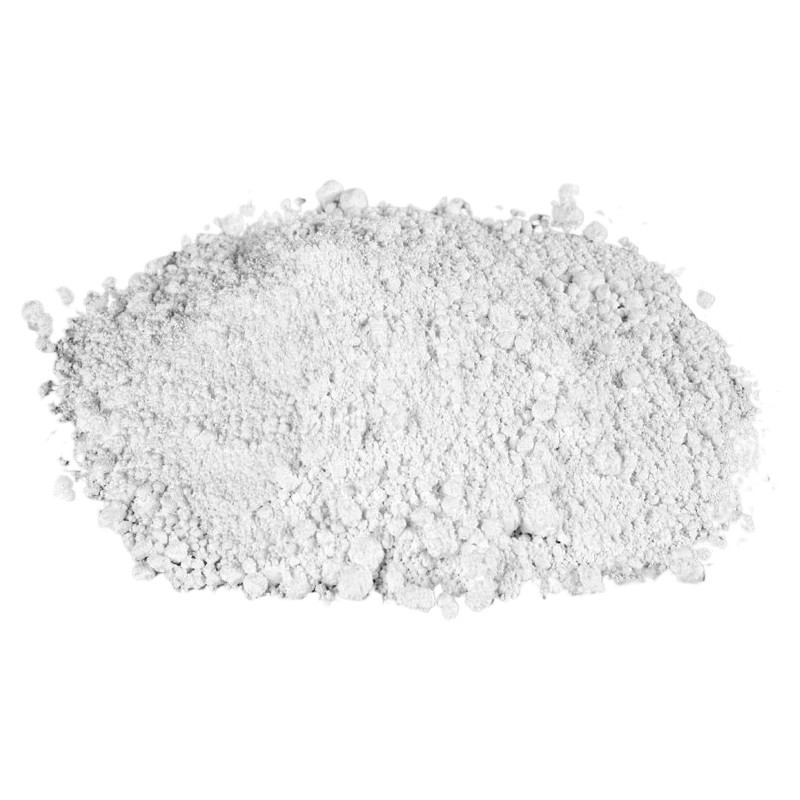
 TITANIUM DIOXIDE FR767
 -
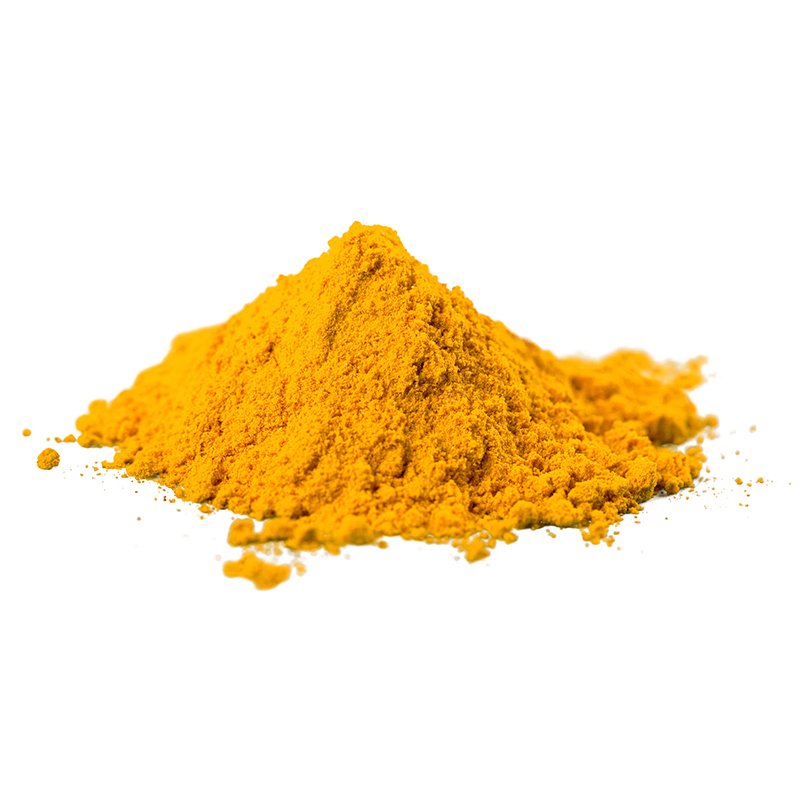 Benzidine Permanent Yellow Pigment 2GS
 -
 1250 Mesh High Whitness Calcined Kaolin
 -
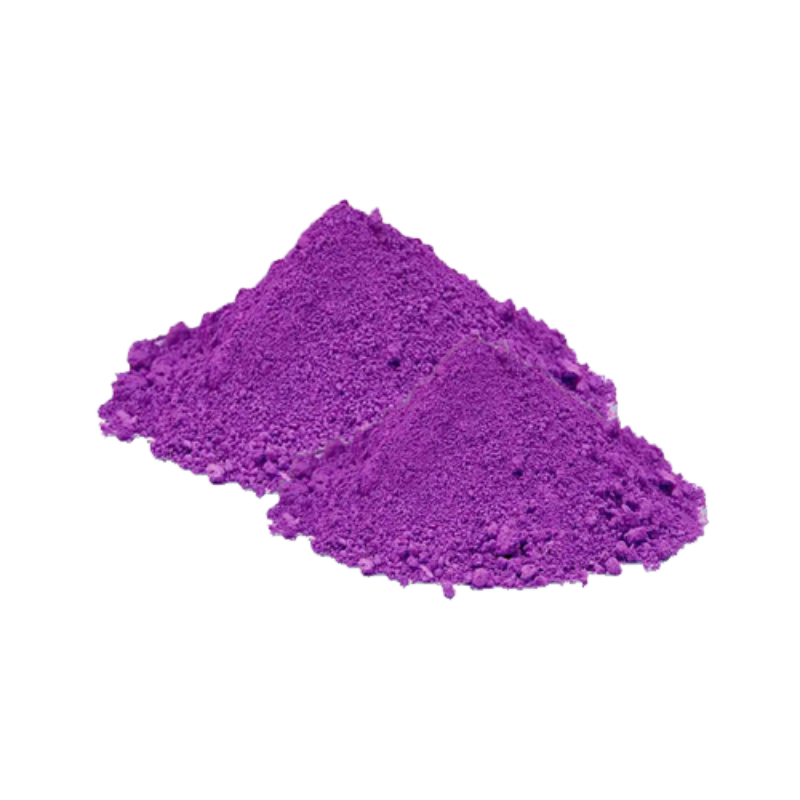 Dioxazine Violet 23 Pigment for Plastic Coating and Painting
 -
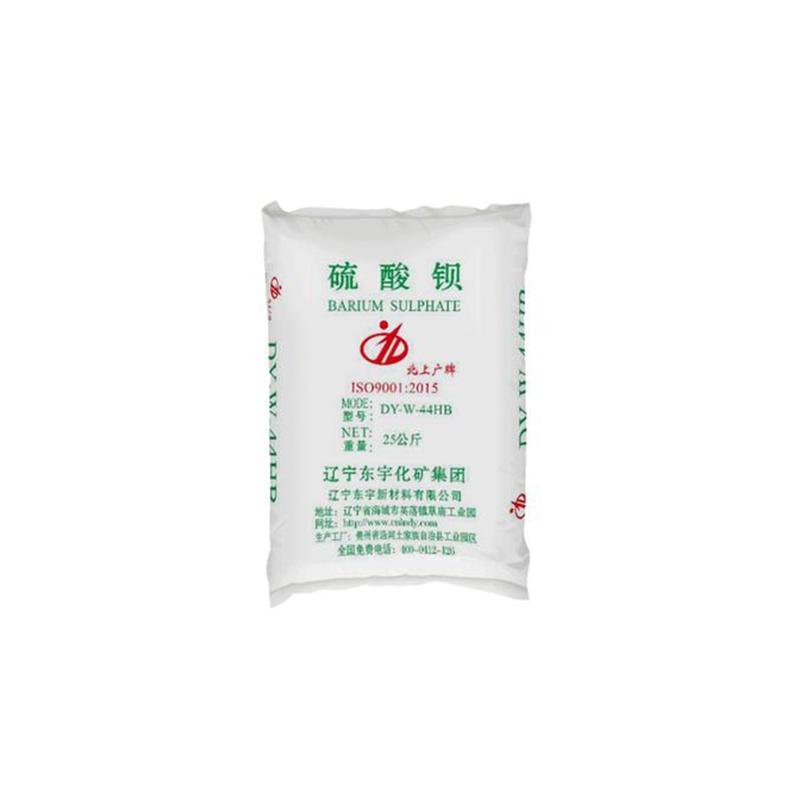 Natural barium sulfate 1250 mesh
 -
 Green&Golden Hongtu Brand HT-105 Environmental Friendly Regular Compound Printing Ink
Q
who is titanium

IndustrialBuzz: Buzzing you up with the latest updates and innovations from the industry around the globe.
You May Like

Unblocking a sewage drain with caustic soda (Sodium Hydroxide) can be effective as it dissolves organic material. First, ensure you have thick rubber gloves and safety goggles for protection. Measure out about 3 cups of caustic soda and cautiously mix it with 3/4 gallon of cold water in a mop bucket, using a wooden spoon. The mixture will heat up and fizz; wait for it to cool slightly. Then, slowly pour it down the blocked drain and leave it for 20-30 minutes. Flush the drain with boiling water to clear the blockage. Repeat the process if necessary. However, be mindful that caustic soda can damage some pipe materials and is harmful to skin and eyes; always follow safety precautions and consider trying less caustic methods first.

In "A Hat in Time," dyes are cosmetic items that change the appearance of the player's hat and outfit, providing a means to customize the look of the protagonist, Hat Kid. If your dyes are appearing white, it could be due to a graphical glitch or a bug within the game. "A Hat in Time" is known for its charming graphics and engaging gameplay, but like any software, it can experience issues. To resolve this, try verifying the game files if you're on PC via the game platform (Steam, GOG, etc.), ensuring your game is updated to the latest version, or reinstalling the game. If the problem persists, consider reaching out to the developers through their official forums or support channels for a possible fix. Customizing Hat Kid is part of the fun, and resolving these visual glitches is important for the full experience.

To properly mix epoxy resin, first, ensure you are using the exact ratio of resin to hardener as specified by the manufacturer, typically in a 1:1 or 2:1 ratio. Begin by measuring out the amounts accurately using separate cups. Transfer both components into a mixing cup and stir slowly and thoroughly for at least 3-5 minutes, scraping the sides and bottom to ensure complete mixing. Avoid whipping air into the mix by stirring gently. Keep in mind that the mixture's pot life (working time) starts the moment you mix the two, so work efficiently. After mixing, some prefer to let the mixture sit for a minute or two to allow air bubbles to rise to the surface, which can then be popped with a heat gun or by lightly passing a flame over the surface. Proper mixing is crucial as unmixed resin or hardener will not cure properly, leading to sticky or soft spots in your project.
You May Like
Q&A
- •can you paint bricks with emulsion
- •are amino acids positive or negative
- •is malabrigo yarn good for socks
- •how to dye handmade paper
- •is pvc baby saf
Popular Information

