


YYDD (Qingdao) Technology Co., Ltd.
Retailer
CN Supplier
3 YRS
Main Products:
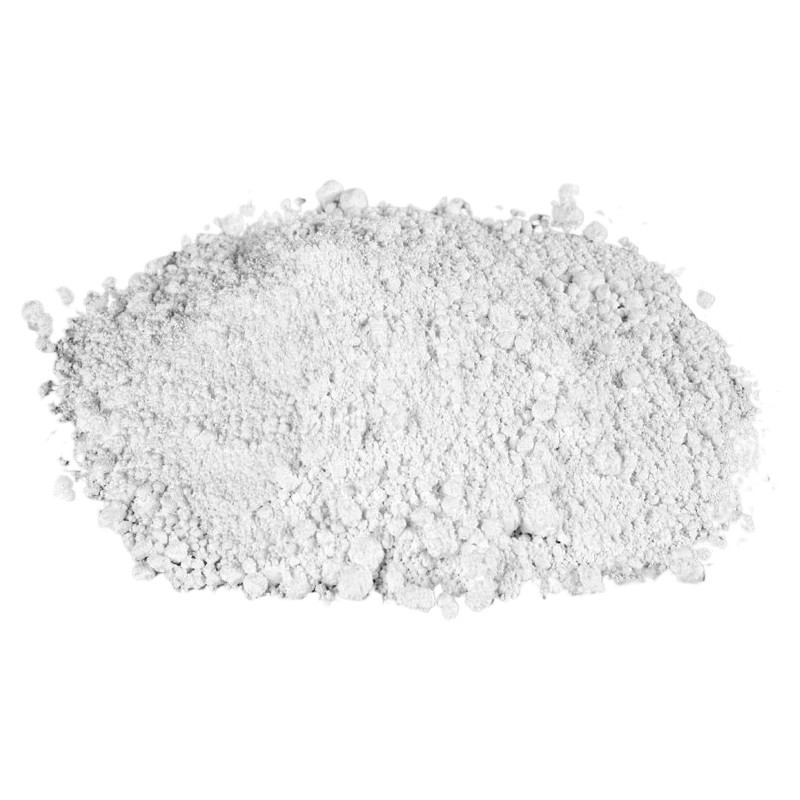
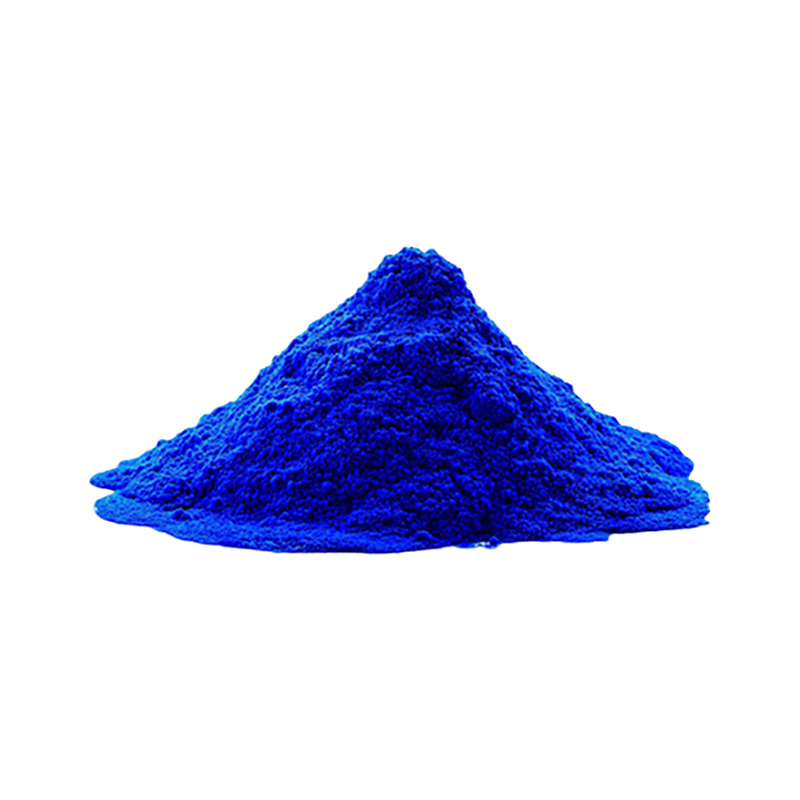
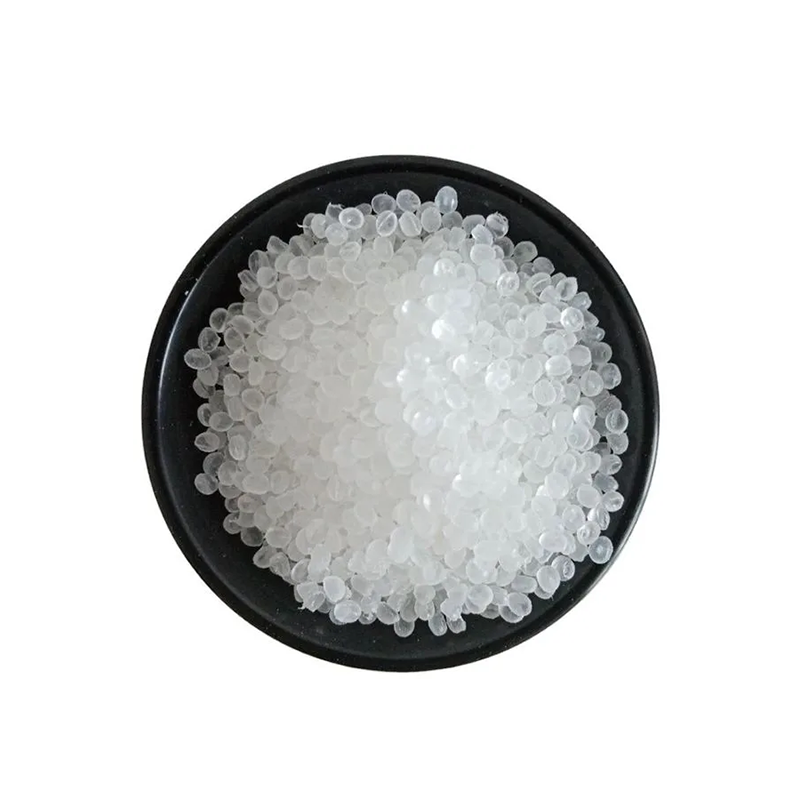
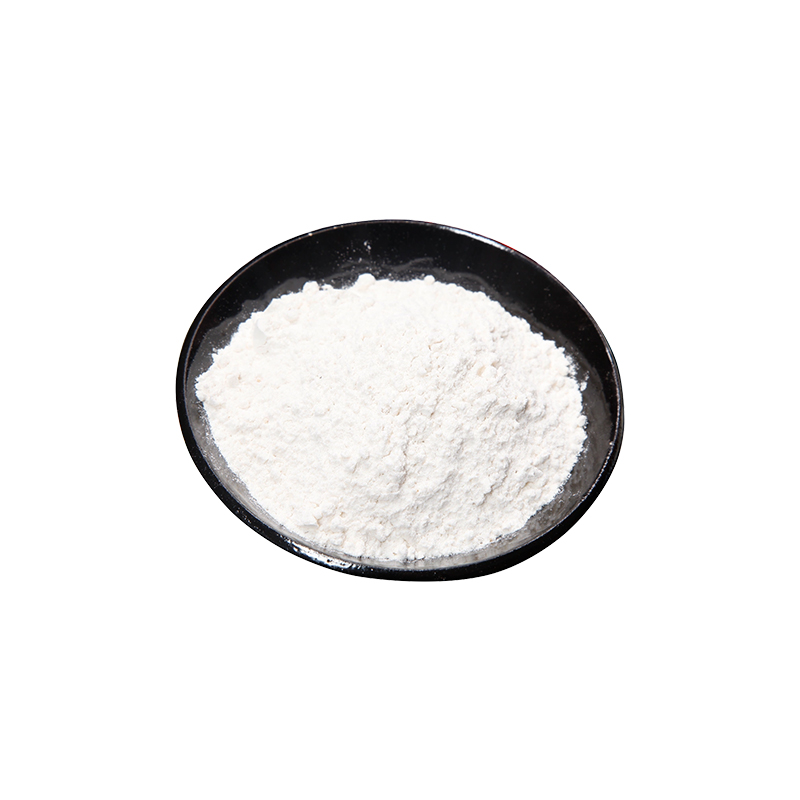
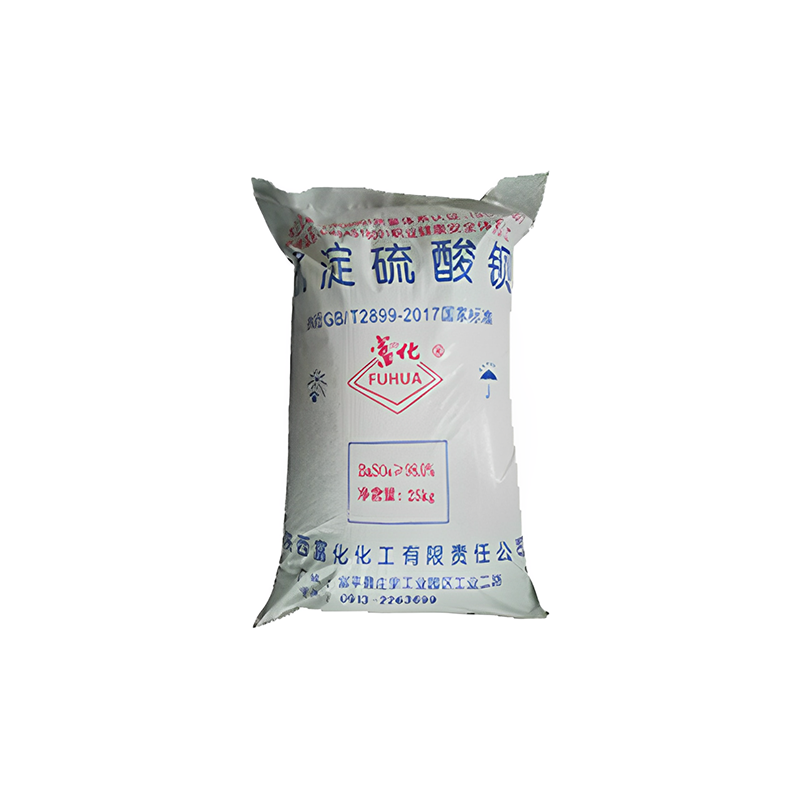
Titanium dioxide, pigments, fillers, alcohols
Established:
2022-01-26
Company Size:
10000
Zhangjiagang Toodudu E-Commerce Co.,Ltd
Retailer
CN Supplier
9 YRS
Main Products:
Titanium dioxide, pigments, fillers, alcohols
Established:
2016-05-03
Company Size:
10000
TDD (QINGDAO ) CROSS-BORDER E-COMMERCE CO.,LTD.
Retailer
CN Supplier
1 YRS
Main Products:
Auto parts、Rubber tyre、Finished car
Established:
2024-08-01
Company Size:
10000
Beijing TDD E-commerce Co., Ltd
Online Store
CN Supplier
11 YRS
Main Products:
Titanium dioxide, pigments, fillers, alcohols
Established:
2014-12-18
Company Size:
2000
(Advanced material)Beijing TDD E-commerce Co., Ltd
Retailer
CN Supplier
11 YRS
Main Products:
Advanced material
Established:
2014-12-18
Company Size:
2000
SUGAR ICUMSA 45
Rectangular Cornstarch Disposable Biodegradable food container Cornstarch rectangle lunch box Series To-go Takeaway Pack
Food stuff Disposable Plastic fast food box Takeoff Customize Packing Box resuable Microwave clear Food Container
Wholesale Cheap Disposable Plastic 2oz Mini Sauce Cup With Lid Clear Cups Sauce Container
Zhuhai Ori-nature E-commerce Co., Ltd.
Manufacturer/Factory
CN Supplier
1 YRS
Main Products:
Sublimation Ink,Printer Ink,UV Ink,Uv Printer,DTF Ink,Digital Textile Ink,Sublimation Paper
Established:
-
Company Size:
-
1000ml DTF White Pet Film Ink Textile Printing Ink DTF Ink for Epson XP600 L1800 I3200 4720 DTF Printer
1000ml Premium DFT White Encre Color UV Textile Inkt DTF Ink for Epson L805 I3200 4720 5113 Printer
Sublimation Ink for Digital Printing L1300 1000NL Sublimation Ink Printer for Epson XP600 & 7900
100ML Based Refill Sublimation Ink for Epson ET-2710 ET-4700 ET-2400 Printer Premium Color Compatible Ink