


GAOMI HUASHENG TYRE
Manufacturer/Factory
CN Supplier
1 YRS
Main Products:
OTR TIRE,PCR TIRE,AGRICULTURE TIRE,INDUSTRIAL TIRE,TRUCK AND BUS TIRE.
Established:
-
Company Size:
-
Qingdao Annaichi Tyres Co.,Ltd.
Manufacturer/Factory
CN Supplier
1 YRS
Main Products:
OTR tire, Agricultrual tire, Industrial tire, ATV tire, Special tire
Established:
-
Company Size:
-
QINGDAO SUNWIDE TYRE CORP LIMITED
Manufacturer/Factory
CN Supplier
1 YRS
Main Products:
Car tires, off-road vehicle tires, all steel radial load tires, light truck tires
Established:
-
Company Size:
-
Beijing TDD E-commerce Co., Ltd
Online Store
CN Supplier
11 YRS
Main Products:
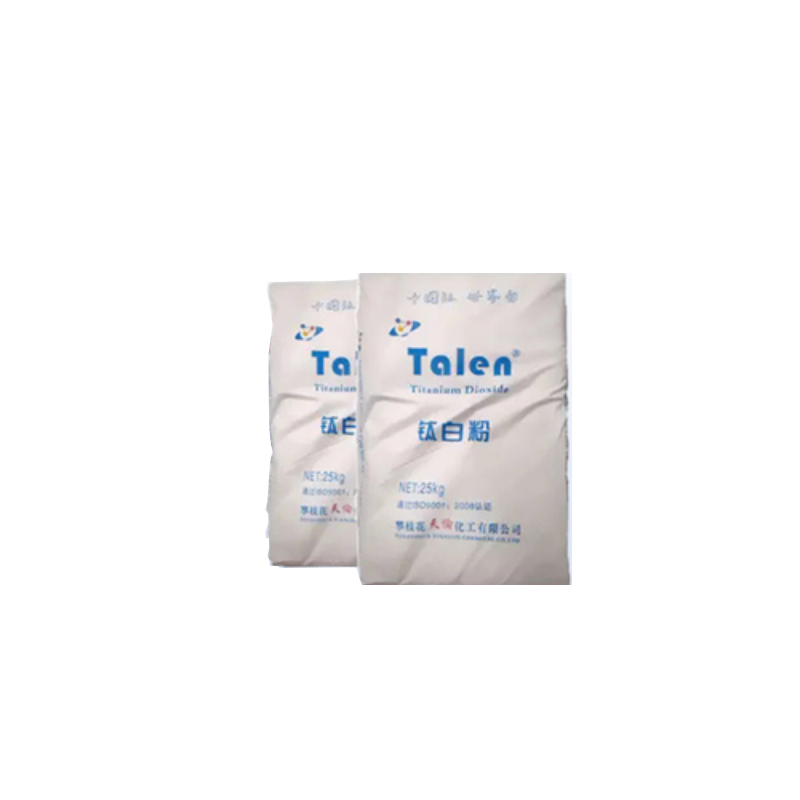
Titanium dioxide, pigments, fillers, alcohols
Established:
2014-12-18
Company Size:
2000