


-
 Y300 Eco Friendly Disposable Takeaway leakproof Packing Black round Plastic Food Container
 -
 Top quality and good price recyclable plastic cups disposable plastic cups 16oz PP disposable party cup
 -
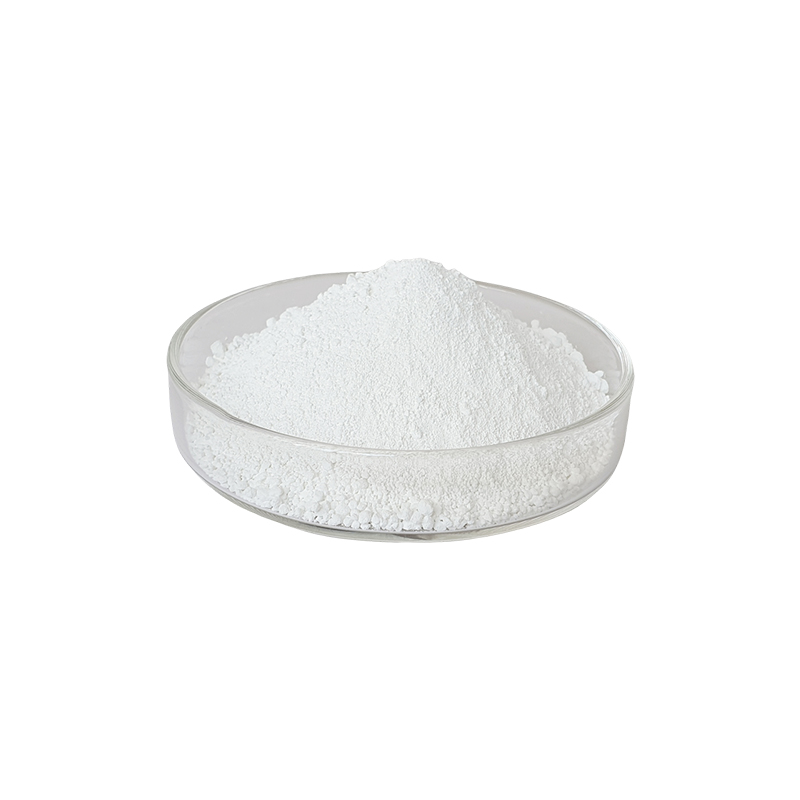 Vitamin K1 Powder
 -
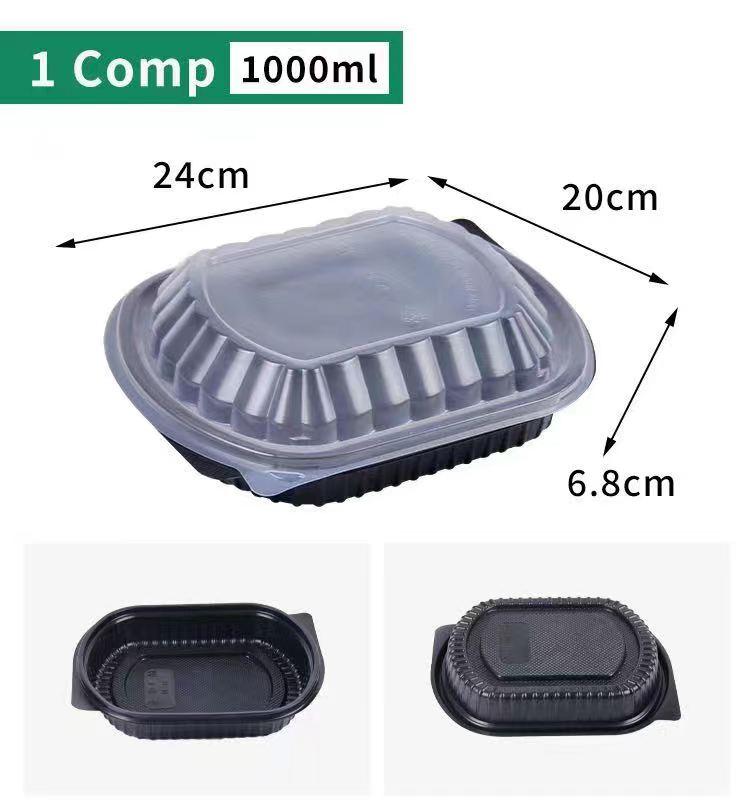 Single compartment (cover with hole)
 -
 Xintian Natural Superfine Barium Sulfate XT-668
 -
 Sanlian Polyvinyl Chloride Resin SG5
 -
 Huachuang Barium Sulfate Precipitated for Powder Coating 1250 mesh
Q
is pvc accepted cosplay

I'm a seasoned industrial engineer with a keen interest in machine learning. Here to share insights on latest industry trends.
You May Like

Coil spinning employs the twisting of fibers into yarn, with an added step to create distinct "coils" or "beehives" within the yarn for a textured effect. To coil spin, you'll first need to spin a single yarn as your base. Then, using a spinning wheel or spindle, you'll ply this base yarn alongside a thread, holding the base yarn loosely to allow it to loop around the thread, forming coils. Tension and the rate at which you feed the yarn and thread through your fingers will determine the size and spacing of the coils. Experimentation is key, as different fibers and tension levels can produce varied and interesting results. Always finish by setting your twist with a warm wash to ensure the coils stay in place.

Before applying epoxy to concrete, ensure it's properly prepared and ready. Firstly, the concrete should be fully cured, which typically takes at least 28 days after pouring. Conduct a moisture test by taping a plastic sheet to the surface for 24 hours; no condensation beneath the sheet indicates it’s dry enough. The surface should be clean, free of grease, oil, or previous coatings, and have a slightly rough texture to help the epoxy adhere properly. This can be achieved by acid etching or grinding. A pH test is also recommended; the concrete should have a neutral pH around 6 to 9. Failure to properly prepare the concrete can lead to poor adhesion, peeling, or blistering of the epoxy coat.

Boiling and dyeing traps is a crucial process for trappers to ensure their tools are clean, odorless, and camouflaged. Begin with boiling the traps to remove oils and grease. This is done by submerging the traps in a large pot of water and bringing it to a boil for about 30 minutes to an hour, depending on grime levels. After boiling, allow the traps to dry completely. Next, prepare the dye by following the manufacturer's instructions if using commercial trap dye, or make a natural dye using items like walnut hulls or logwood chips. Boil water in a separate pot, add the dye, and submerge the traps for up to an hour to ensure they are coated evenly. Remove the traps, allowing them to dry naturally. This process not only camouflages the traps by giving them a dark finish but also adds a layer of protection against rust, significantly extending their usability.
You May Like
Q&A
- •are stone resin shower trays slippery
- •how is the efficiency of an ion exchange resin measured
- •which structure is responsible for bringing in the amino acids
- •where is good dye young sold
- •does zircon have pleochroism
Popular Information
- •PetroChina selects LyondellBasell polyethylene technology
- •The PVC Spot Market Prices Fluctuated and Fell in November
- •A chemicals industry crystal ball: Forecasting a dozen key products
- •Ineos Adopts Solar Energy to Mitigate Carbon Impact in Belgian PVC Manufacturing
- •Chemical industry: Russia–Ukraine war impact analysis July 2022

